
Every industry has its specialized tools, and the programming world is no different. Developers rely heavily on integrated development environments or IDEs as one of their principal utilities. These applications provide various features that simplify the development process, so understanding the available tools and languages is crucial.
Here are some features typically found in most IDEs:
- Code editor to create and modify code.
- Syntax highlighter, syntax checker and code completion features.
- Compiler or interpreter (depending on the language type).
- Debugger for testing and troubleshooting.
- Version control features, including possible integration with git.
- Build automation tools.
Not all IDEs have these features, but this is a good general list. Some IDEs are language-specific, so keep that fact in mind. Clearly, selecting the right IDE is a critical choice.
Apple created the Xcode IDE specifically for programming within its ecosystem of macOS, iOS, watchOS, tvOS and visionOS platforms. Its capabilities include designing, coding, testing and distributing applications.
What Is Xcode?
Xcode is Apple’s comprehensive development platform for the full range of Apple devices. It offers a standard array of IDE features with a distinctly Apple twist. Beyond the expected capabilities, Xcode provides Apple device virtualization and support for the Apple-preferred programming languages.
Which Programming Languages?
Apple has expanded Xcode’s capabilities over the years to include many of today’s most popular programming languages, including:
It also provides the appropriate compiler for the languages that require one.
Additional third-party extensions support C#, Perl, Go and others, making Xcode a flexible solution for the languages one most often encounters when developing for Mac systems.
Xcode Features
Apple Xcode comes with many practical and intelligent features. It does the things standard IDEs do, but it also provides functionality essential to creating applications for the wide variety of Apple devices. Two of the most useful are Xcode Swift Playgrounds and Xcode Device Simulators.
Xcode Swift Playgrounds
One of Xcode’s most interesting features is Xcode Swift Playgrounds. These coding environments enable developers to see immediate results for code entries or changes. Playgrounds speed testing and learning with instant feedback. They differ from the standard online Swift Playgrounds apps by integrating into existing projects and taking advantage of Xcode’s other native features.
Xcode Device Simulators
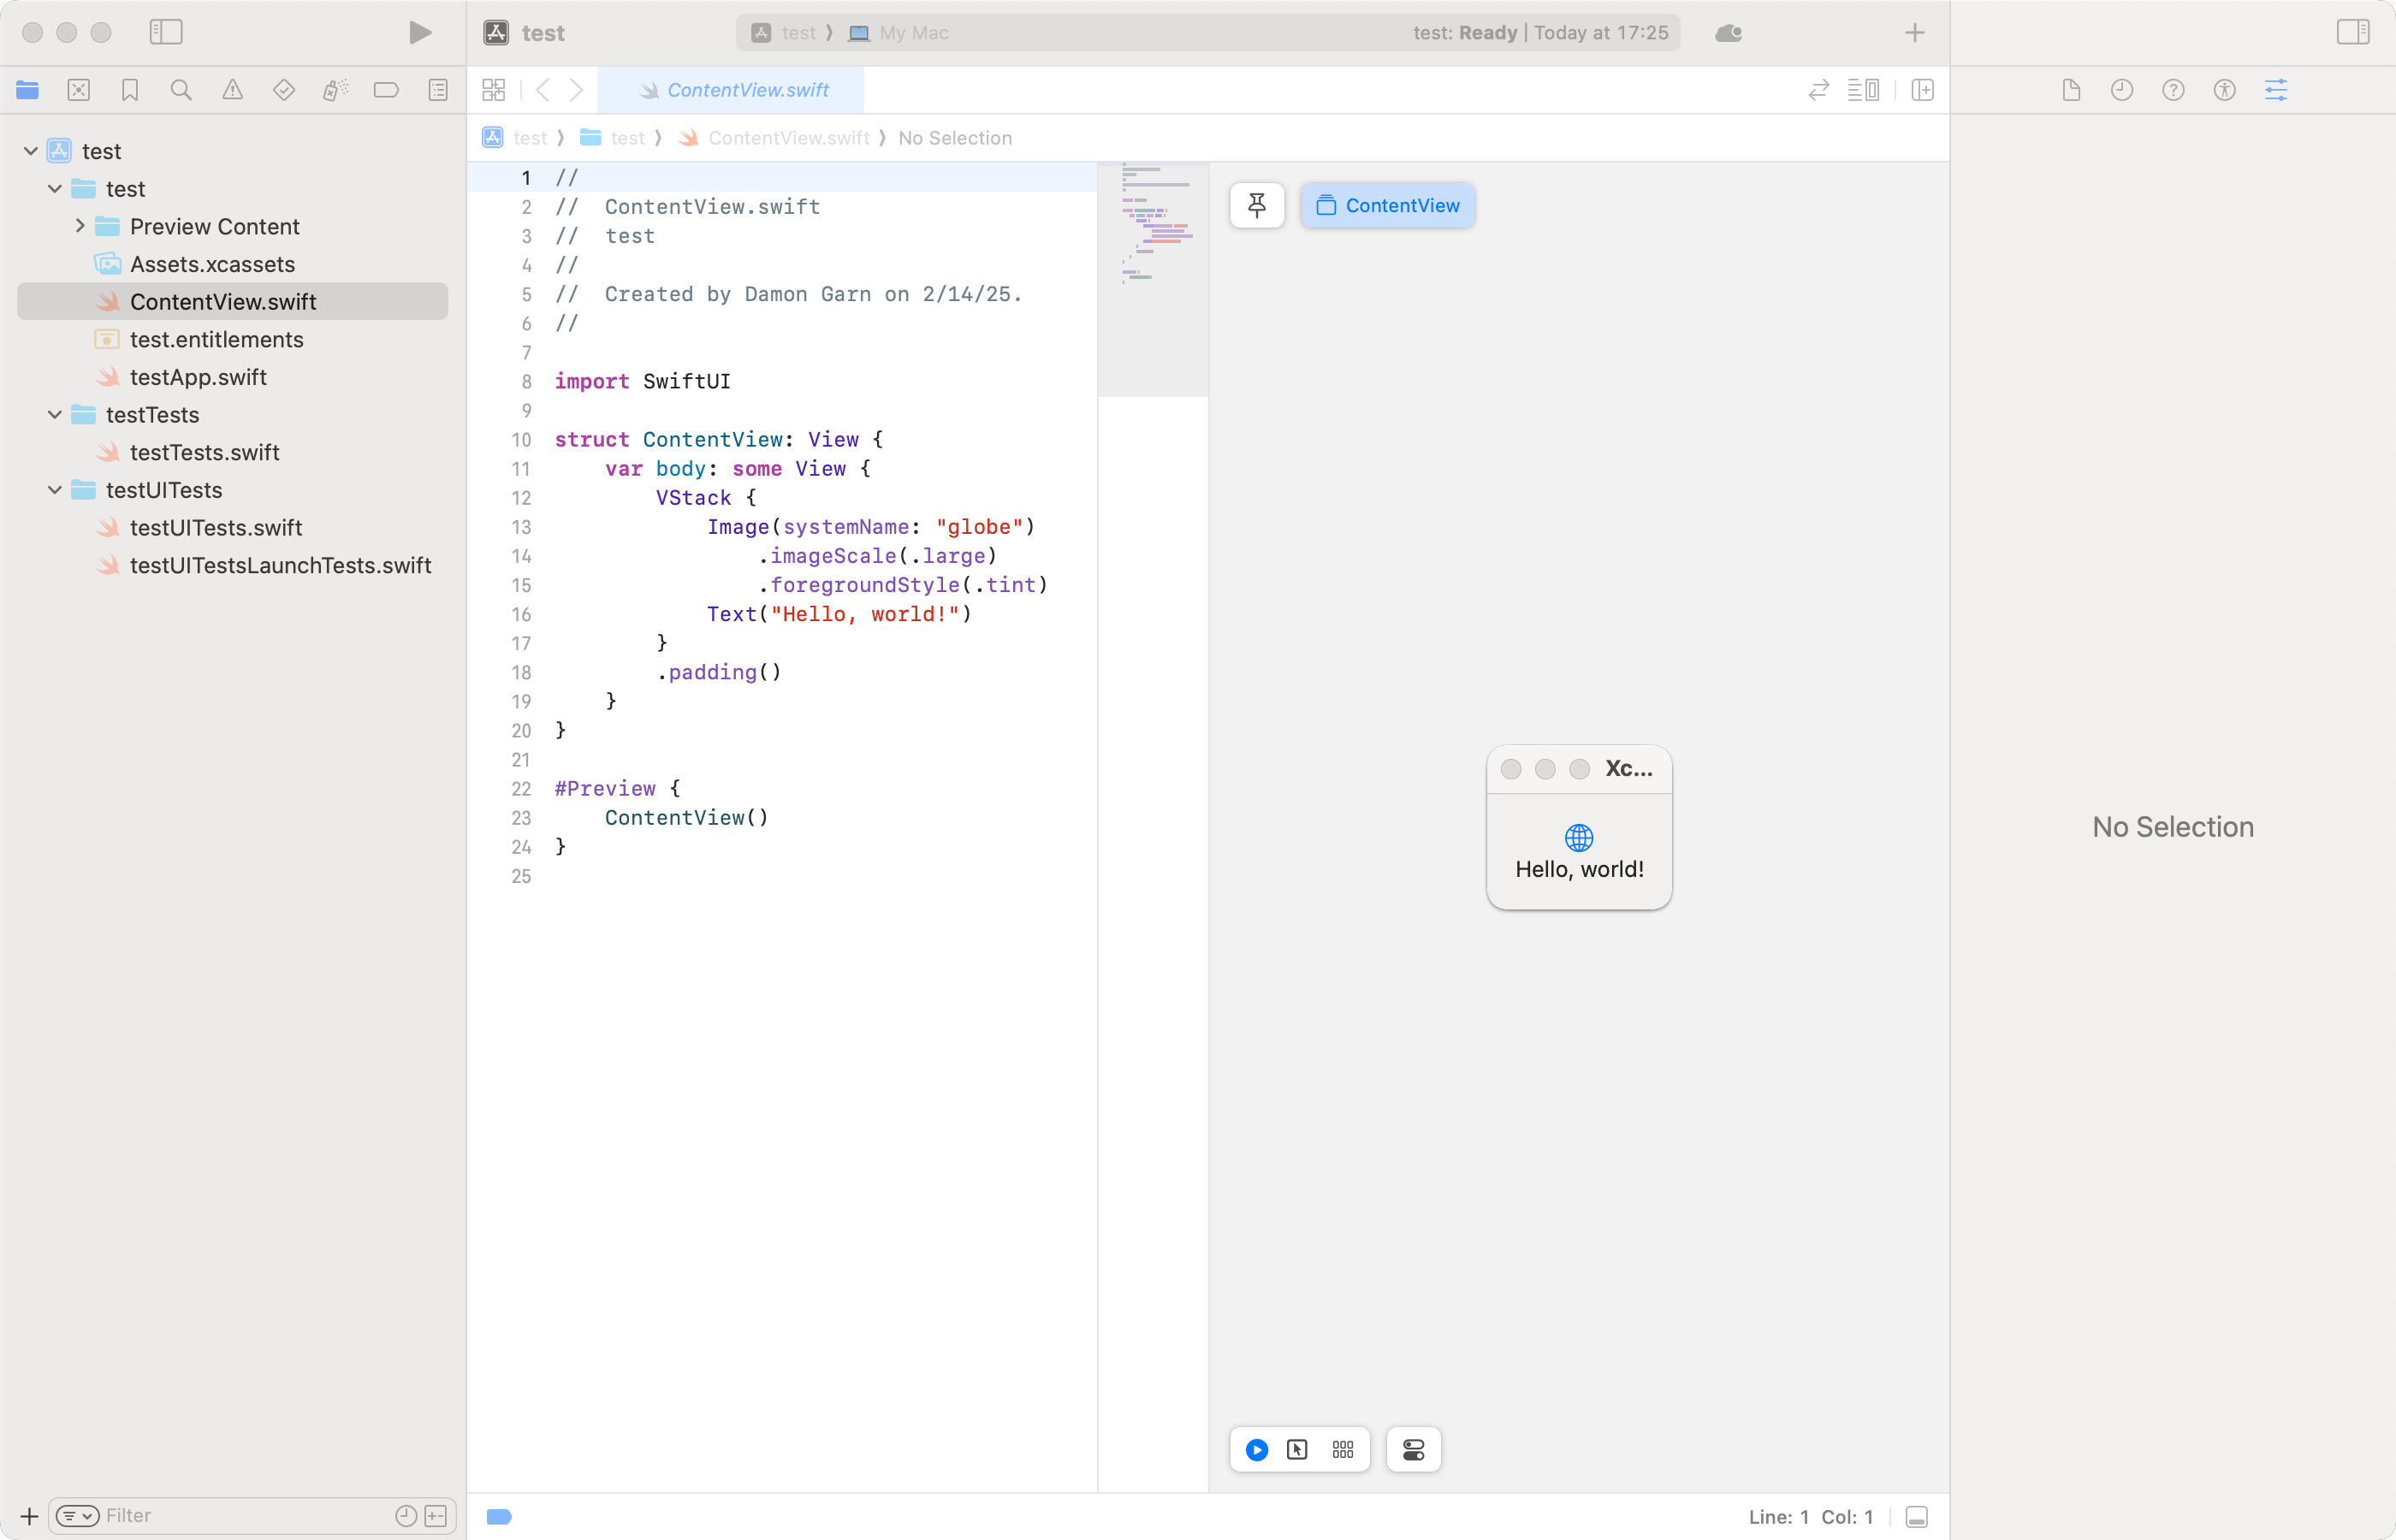
Device simulators are another powerful Xcode utility. The simulators allow developers to test code for iPhones, iPads and Apple Watches without having the physical device present. These virtualization tools are an essential part of the Xcode package, speeding the development and testing processes by avoiding the effort and expense of syncing applications to physical devices. They will be one of the first components you work with when developing for the various Apple platforms.
Sounds Good! How Do I Get Xcode?
Begin by updating macOS to Sonoma 14.5 or higher. Xcode is a little unforgiving of older macOS versions. Dev work can be a heavy lift, so Apple recommends 16 GB of RAM and 512 GB of storage space (not including storage for your coding projects). If you’re building out a shiny new Mac, don’t forget the benefits of the newer M4 chips.
At the time of writing, Xcode 16.2 is the most current version. Install Xcode from the Apple App Store or use the Homebrew package manager. It’s free, and you don’t even need an Apple developer ID. Just grab it and go.
Apple App Store
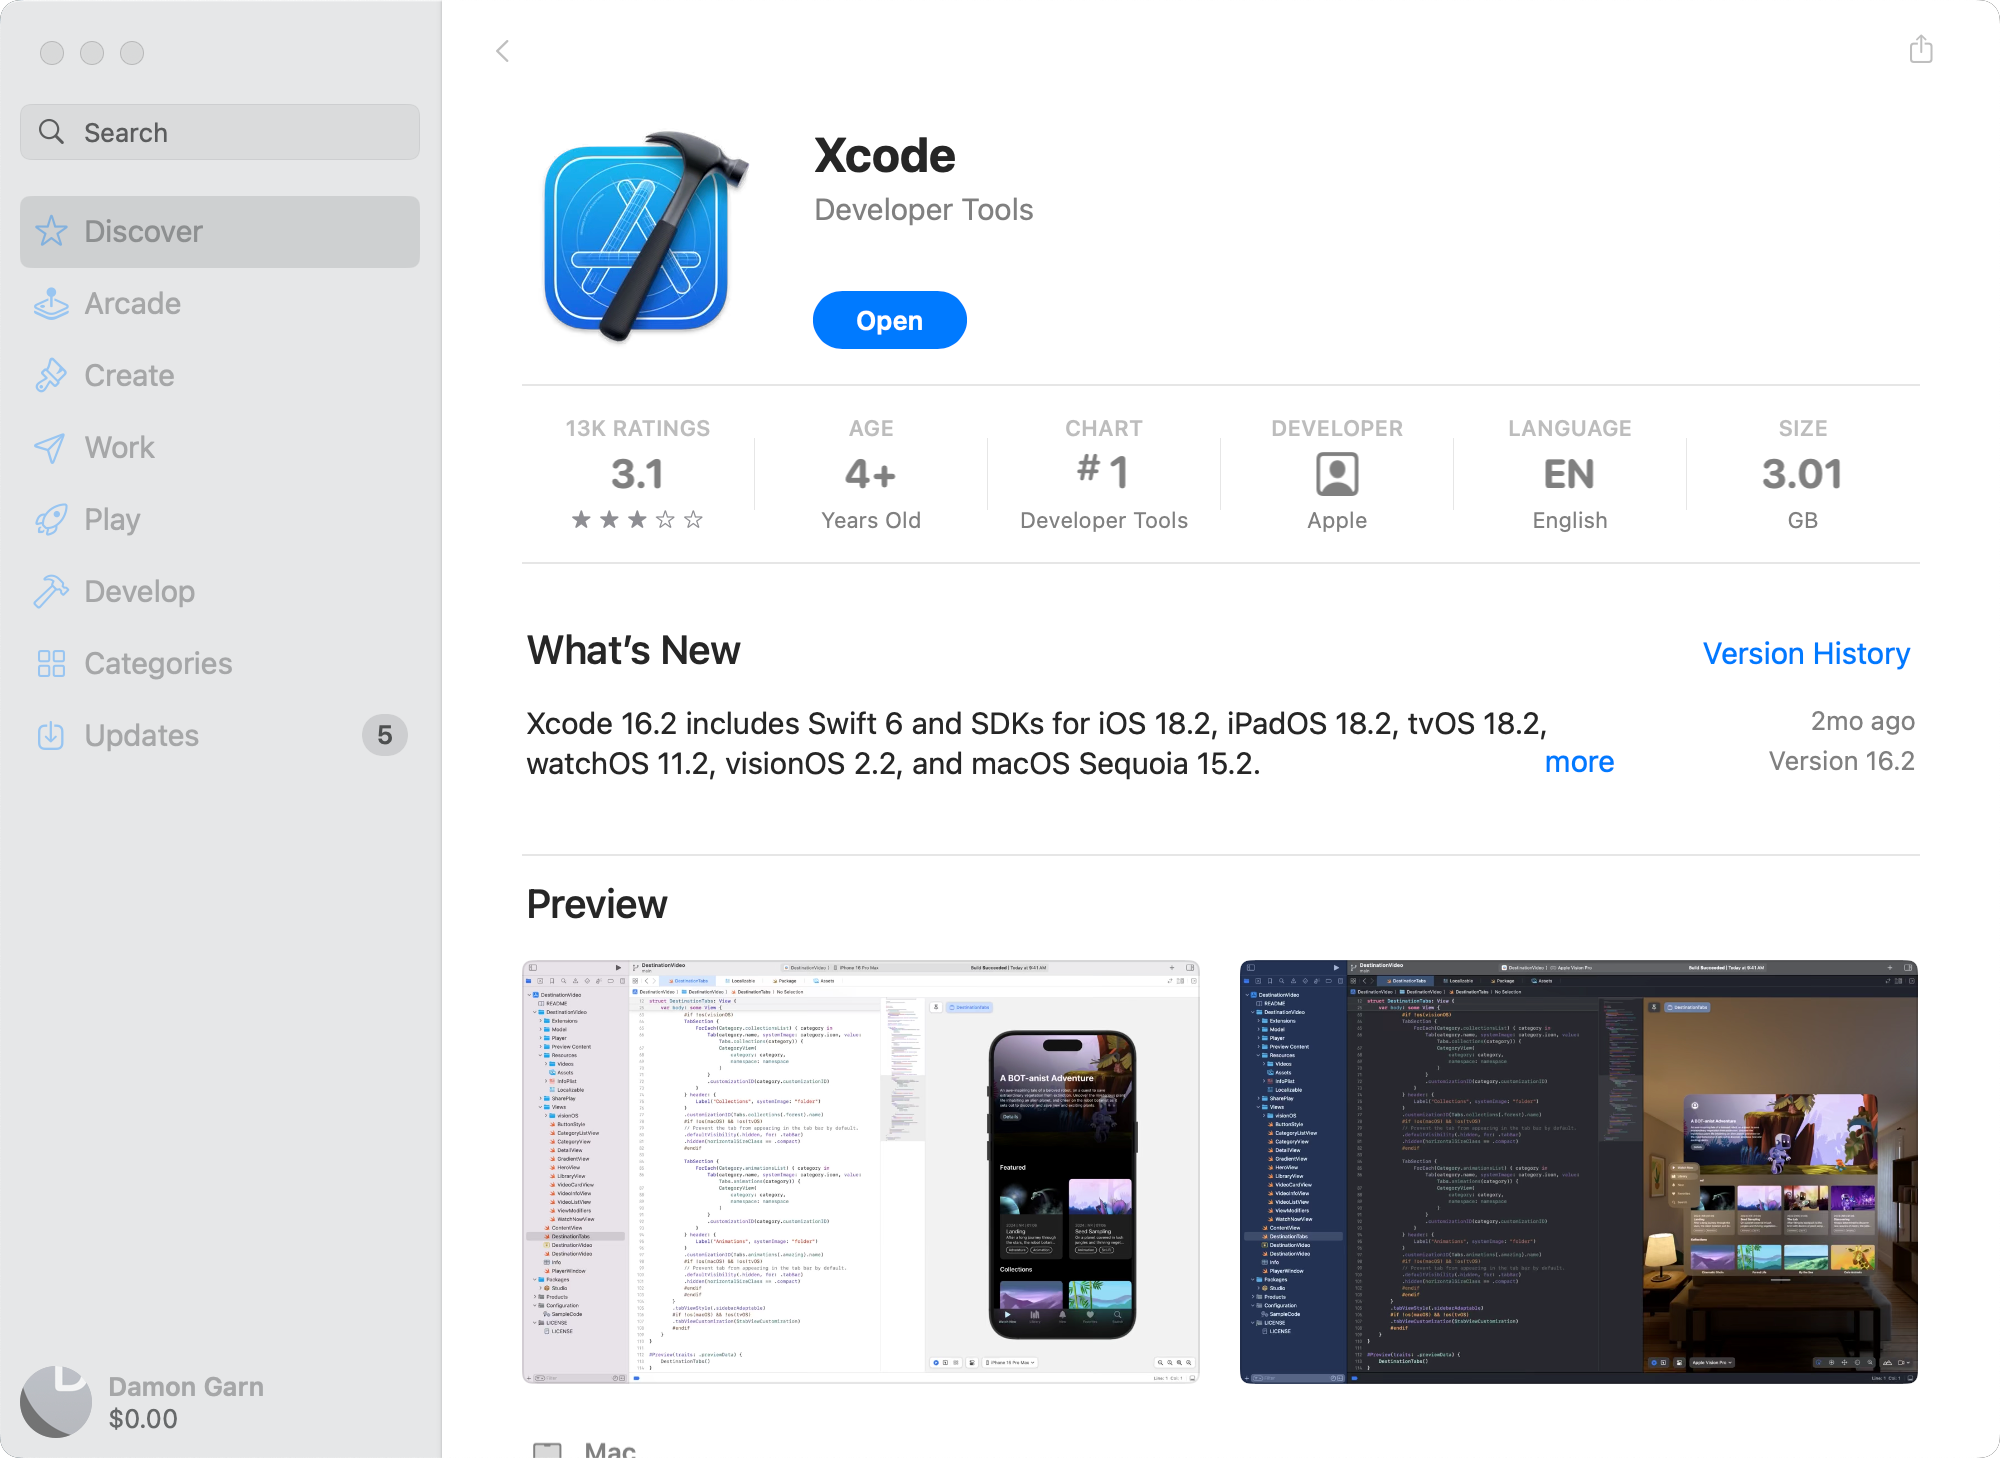
Once your Mac is up to date, open the Apple App Store and search for Xcode. You’ll find version information and the option to install the application. It’s a big download, so it’ll take a few minutes, depending on your internet connection.
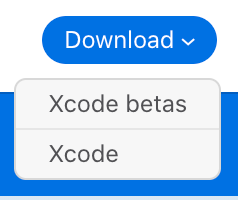
Another option is to browse the Apple Developer Website. Next, select the Xcode tile. The page shows Xcode information and offers a Download button. The button allows you to choose Xcode or Xcode betas. Avoid the betas if you’re just getting started.
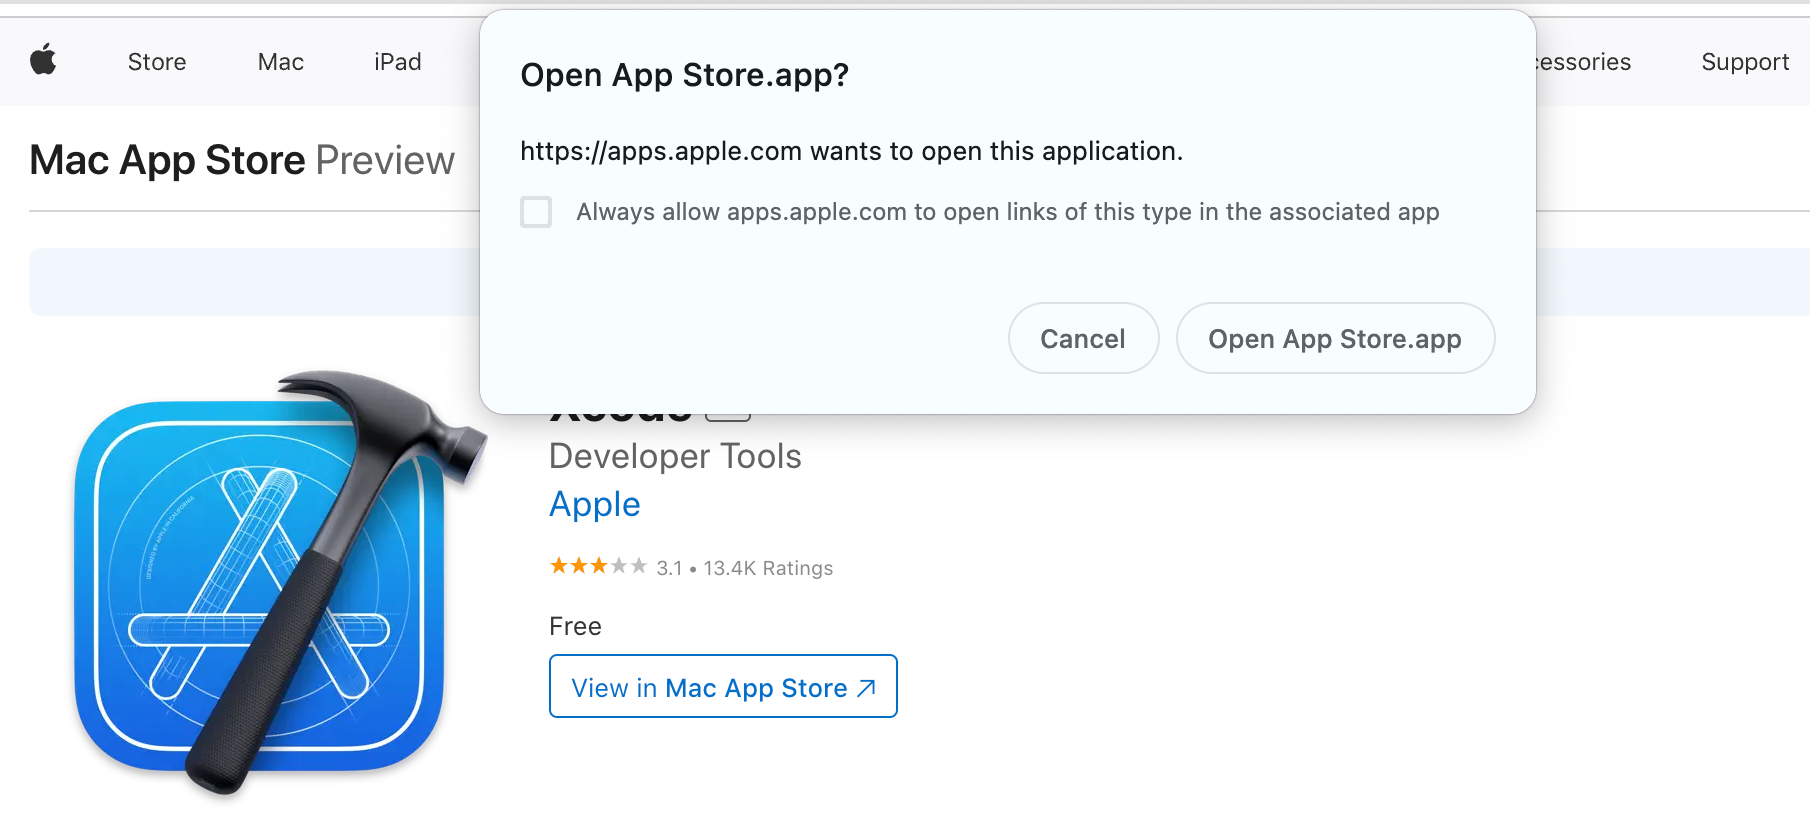
The page offers to take you to the App Store. It also displays the same support and version information you’ll see in the App Store. Either accept the Mac App Store redirect or select Cancel to read more about Xcode.
Since the developer site redirects you to the App Store anyway, it’s probably easiest just to start there.
Homebrew Installation
I should mention the Homebrew package manager option. While I’m a huge fan of Homebrew, I chose to get Xcode from the Apple App Store in this case. Managing Xcode via Homebrew means updating some additional software and carefully maintaining versions.
Getting Started With Xcode
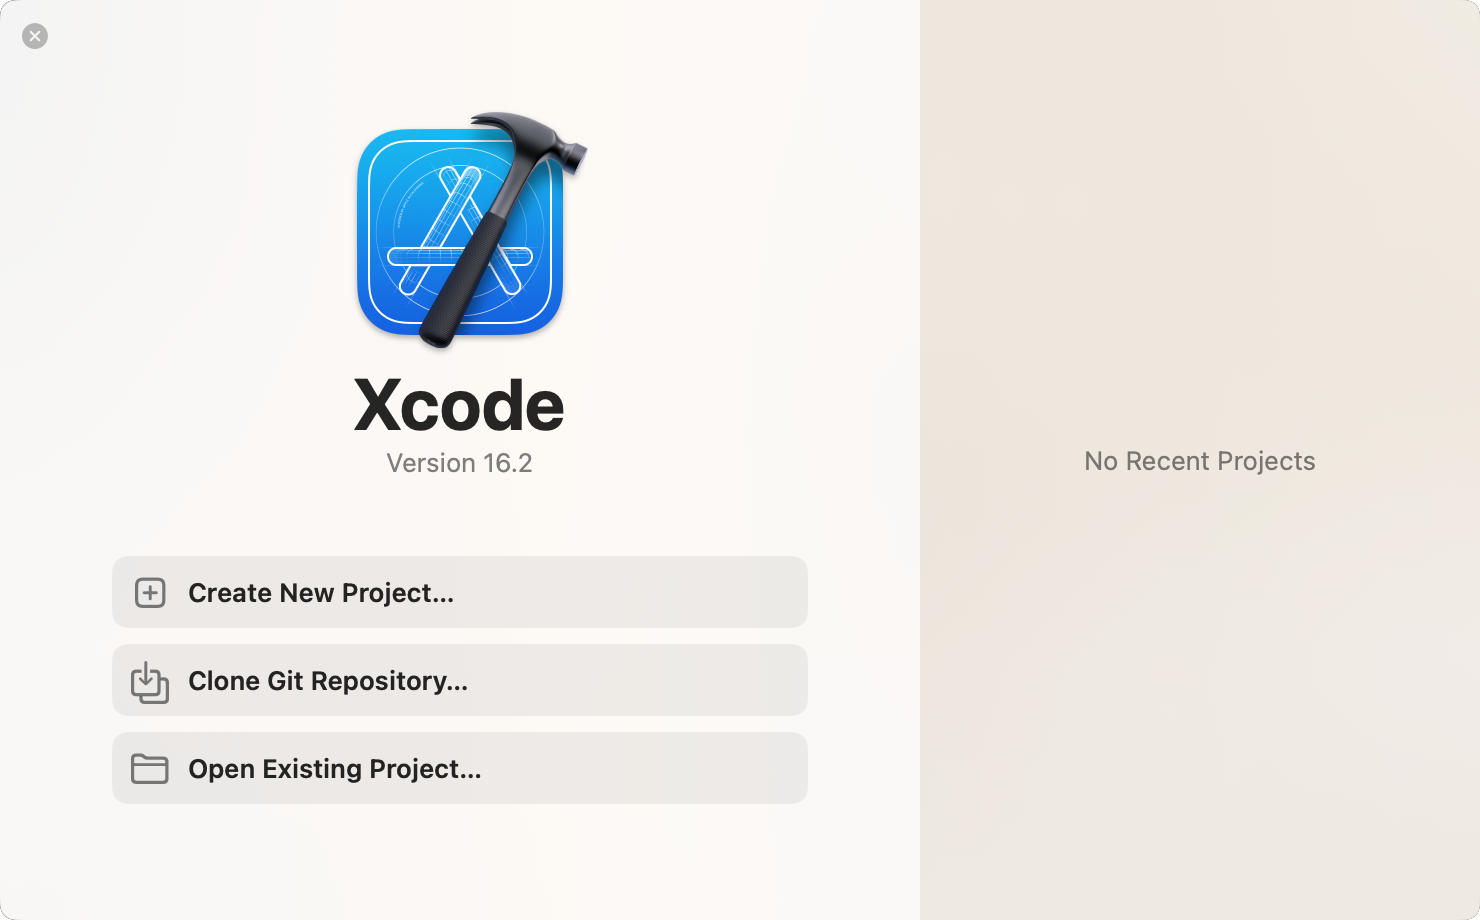
Xcode launches with an interface to create a new project, clone a Git repository or open an existing local project. It also shows recent projects.
Selecting a new project opens an interface offering various application and framework templates for the different Apple platforms (macOS, iOS, watchOS, etc.). Select one that suits your goals, press Next. Give the product a name, organization identifier, test environment and storage location; then press Next again. The storage location is your projects folder or wherever you store your dev files. Xcode offers to create the folder as a git repository, which is handy. That’s the setup.
From there, begin working on your project using the standard Xcode interface.
Xcode Documentation
Apple makes a variety of resources available to support Xcode. These include standard documentation, Swift and C++ language support, tutorials, video presentations and more. The developer site is robust, so it should be your first stop when looking for help with Xcode, Apple device development and Swift.
Xcode Alternatives
There are alternatives to Xcode for those developing iOS and macOS projects. They are not necessarily free but may be more robust or flexible. You might already have experience with these platforms, which may be beneficial.
- JetBrains AppCode: Supports macOS and iOS development in Swift, Objective-C, C++ and others.
- Visual Studio Code: Supports Swift development and numerous iOS plugins.
- CodeRunner: Offers Swift development for iOS.
Begin with Xcode if you’re new to programming for Apple devices, but explore these alternatives as you gain experience.
Wrap Up
If you fancy developing apps for Apple platforms, then Xcode is the place to be. It offers all the benefits of a robust IDE with additional features like virtualized hardware simulators for Apple devices and integrated Swift Playgrounds. There’s even an Xcode Cloud version that enables additional CI/CD tools.
Xcode is equally useful for new Apple developers and experienced programmers turning their attention to the Apple ecosystem. If you have already configured your Mac as a dev platform for languages like Python, go ahead and keep those tools but add Xcode for your Mac-specific projects in Swift.
Get started today with Apple development and Xcode.
The post Start Your Apple Coding Journey With Xcode appeared first on The New Stack.
Comments are closed.