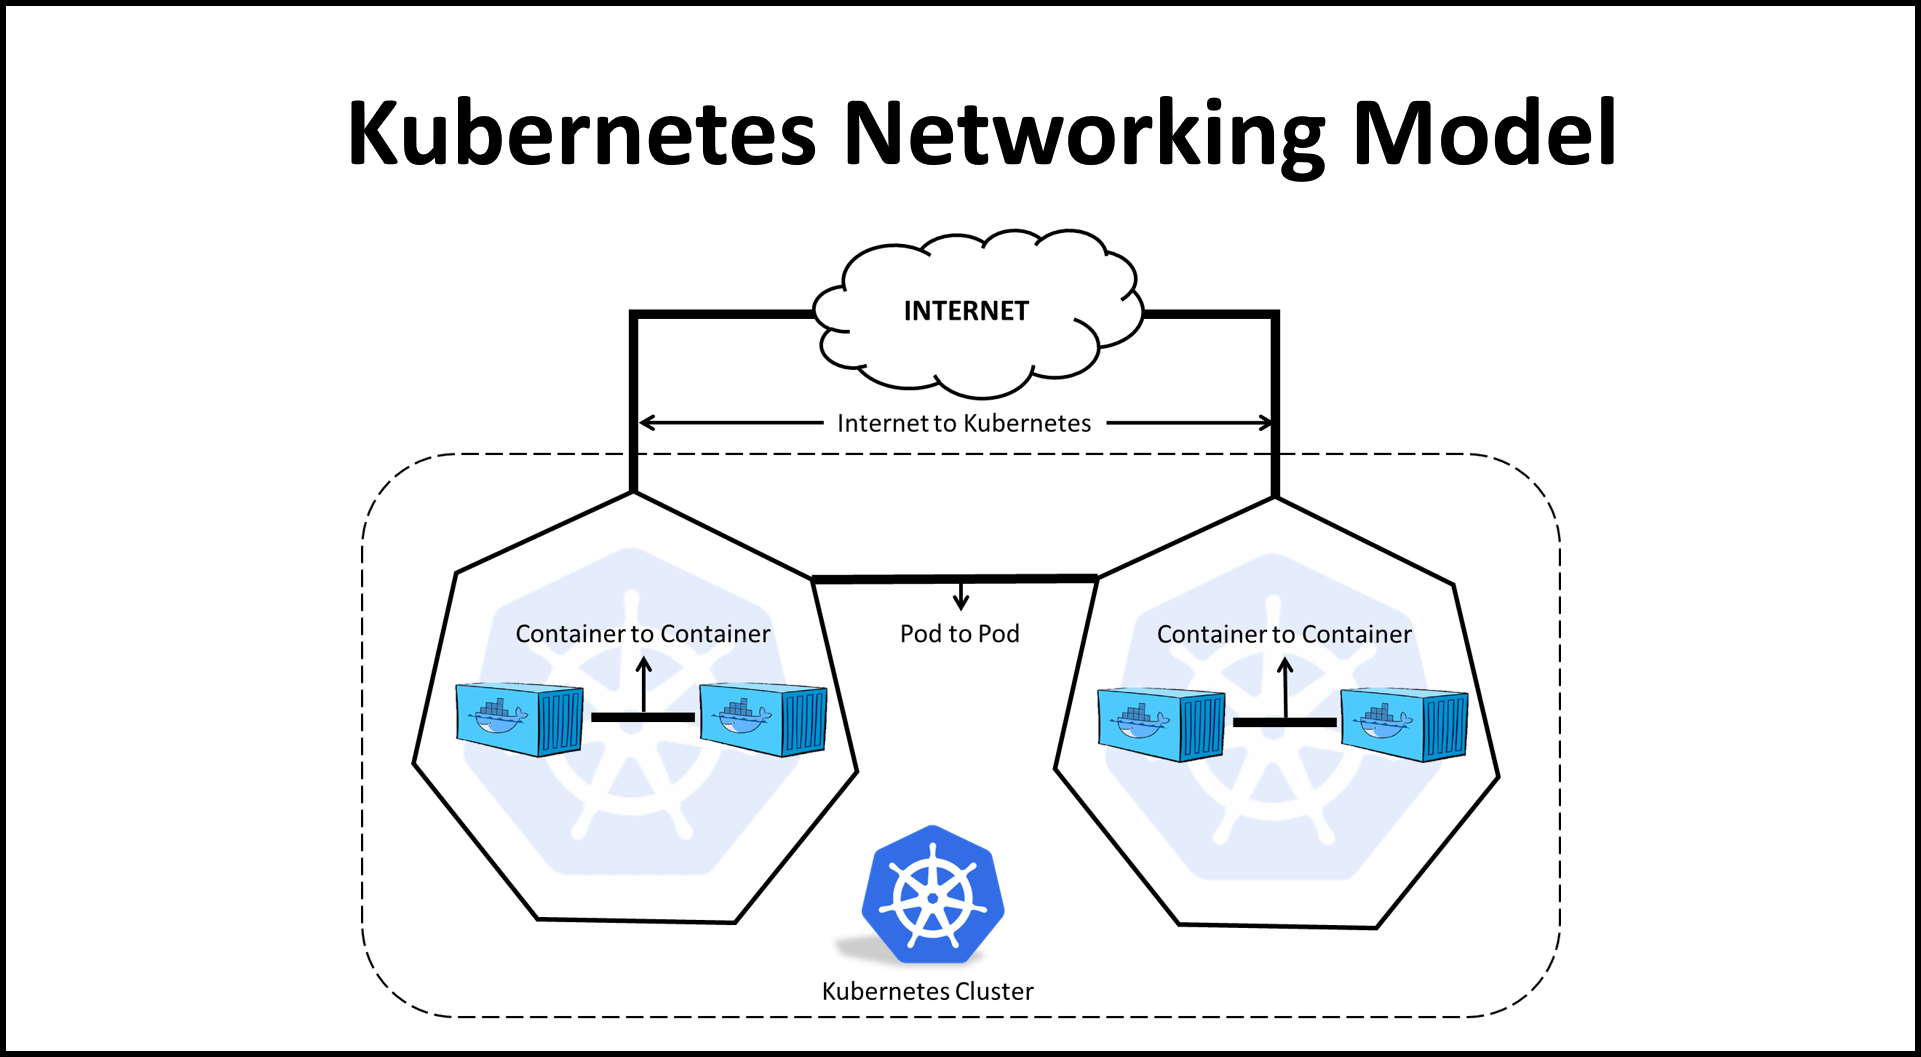
Kubernetes is a powerful platform for managing containerized applications, and understanding its networking capabilities is essential for any developer or DevOps engineer. In this tutorial, we will explore the basics of Kubernetes networking, focusing on services, ingress controllers, and network policies. By the end, you will be equipped to set up a simple application with proper networking configurations.
Understanding Kubernetes Networking
At its core, Kubernetes networking is about how pods communicate with each other and with the outside world. Kubernetes provides a flat network namespace, meaning all pods can communicate with each other without needing to use NAT (Network Address Translation). This simplifies communication but also requires an understanding of how to manage network traffic effectively.
Key Components of Kubernetes Networking
To effectively manage networking in Kubernetes, you need to be familiar with several key components:
- Pod: The smallest deployable unit in Kubernetes, which can contain one or more containers.
- Service: An abstraction that defines a logical set of pods and a policy by which to access them.
- Ingress: Manages external access to the services, typically HTTP.
- Network Policies: Controls the communication between pods.
Setting Up a Simple Application
Let’s walk through setting up a simple application on Kubernetes that demonstrates these networking components.
Step 1: Deploy Your Application
First, you need a simple application to work with. For this example, let’s create a simple Nginx application. You can deploy it using the following command:
kubectl create deployment nginx --image=nginxThis command creates a deployment called ‘nginx’ using the Nginx image. After deployment, check the status with:
kubectl get podsStep 2: Expose the Application with a Service
Next, you need to expose your Nginx deployment so that it can be accessed. You can do this by creating a service:
kubectl expose deployment nginx --port=80 --type=LoadBalancerThis command exposes the Nginx deployment on port 80 and makes it accessible via a LoadBalancer service type. Check the service status with:
kubectl get servicesStep 3: Implementing Ingress
To manage external access more efficiently, you can use an ingress controller. First, you need to install an ingress controller. For this example, let’s use NGINX Ingress:
kubectl apply -f https://raw.githubusercontent.com/kubernetes/ingress-nginx/main/deploy/static/provider/cloud/deploy.yamlAfter installing the ingress controller, create an ingress resource:
apiVersion: networking.k8s.io/v1
kind: Ingress
metadata:
  name: nginx-ingress
spec:
  rules:
  - host: my-nginx.local
    http:
      paths:
      - path: /
        pathType: Prefix
        backend:
          service:
            name: nginx
            port:
              number: 80
Now, you can access your Nginx application through the defined host.
Step 4: Configuring Network Policies
Network policies allow you to control the traffic flow between pods. To create a simple network policy, use the following YAML:
apiVersion: networking.k8s.io/v1
kind: NetworkPolicy
metadata:
  name: allow-nginx
spec:
  podSelector:
    matchLabels:
      app: nginx
  ingress:
  - from:
    - podSelector:
        matchLabels:
          app: other-app
This policy allows ingress traffic to the nginx pods only from pods labeled ‘app: other-app’.
Testing Your Configuration
Once you’ve set up your application, service, ingress, and network policies, it’s essential to test everything. You can use tools like curl or Postman to send requests to your Nginx application and verify that the network policies are working as expected.
Conclusion
Kubernetes networking can seem complex at first, but with the right understanding, you can efficiently manage how your applications communicate both internally and externally. By following this guide, you should now have a foundational understanding of services, ingress controllers, and network policies in Kubernetes. Happy coding!
