The goal is simply to write a NodeJS API and turn it into a replicated application running on Kubernetes, which is running on Google Kubernetes Engine.
Important Note: This article uses Google Cloud Console, gcloud shell, Compute Engine, Google Container Registry, Google Kubernetes Engine.
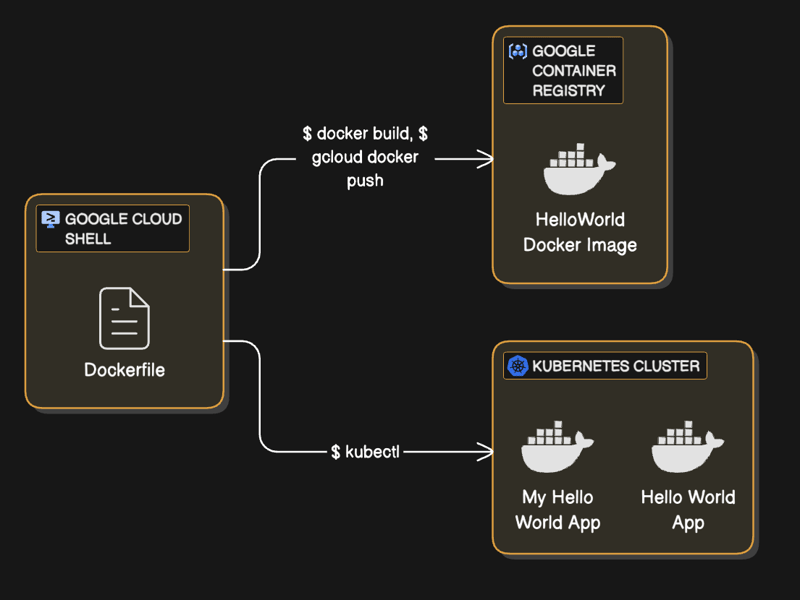
System Architecuture
What is Kubernetes
Kubernetes, also abbreviated as K8s (with ‘8’ representing the number of letters between ‘K’ and ‘s’), is an open-source project originally developed by Google. It is now managed by the Cloud Native Computing Foundation (CNCF). Kubernetes provides a robust way to run scalable and highly available applications.
From the Beginning
Let’s build the API
- Create your app file e.g app.js
- Put the code below
var http = require('http');
var handleRequest = function(request, response) {
  response.writeHead(200);
  response.end("Hello World!n");
}
var www = http.createServer(handleRequest);
www.listen(8080);
- Execute it by running “node
we chose the file name to be
app.js, therefore we will runnode app.jsand we can find the app running on port8080
Output:
Supercharge with Docker.
Kubernetes can run Docker containers; therefore, we need to containerize our app. To run a containarize application we need a Dockerfile.
- Simple container lifecycle: Dockerfile > Docker Image > Docker Container. A built dockerfile produces a docker image and a running docker image produces a docker container. In this article, the container will be running on cloud and managed by kubernetes.
- Create Docker file with: a file with name
Dockerfileand put the below code.
FROM node:6.9.2
EXPOSE 8080
COPY server.js .
CMD node server.js
- Build the docker file to get a docker image
- Run the docker image to get a docker container to test out locally.
Output on the cloudshell:
![]()
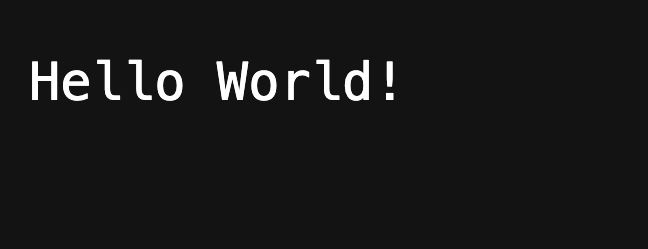
Output on the browser:
![]()
Pushing the image to the registry
- Authenticate your registry be it GCR,ECR, Dockerhub or ACR
gcloud auth configure-docker
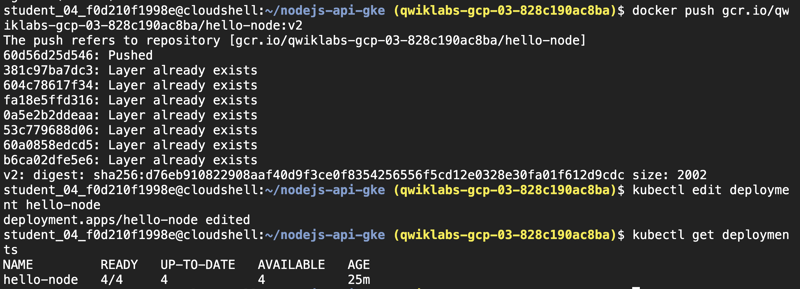
- Push to the registry
docker push gcr.io/PROJECT_ID/hello-node:v1
Output on the cloudshell:

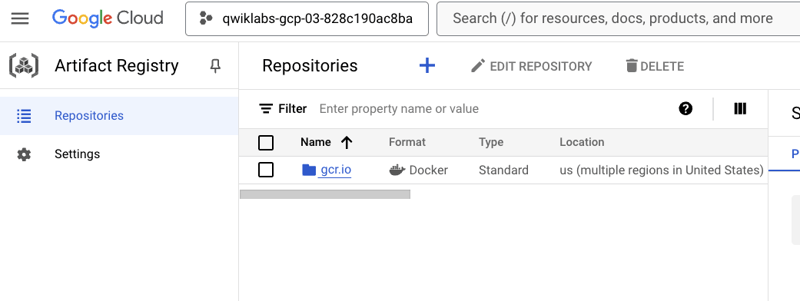
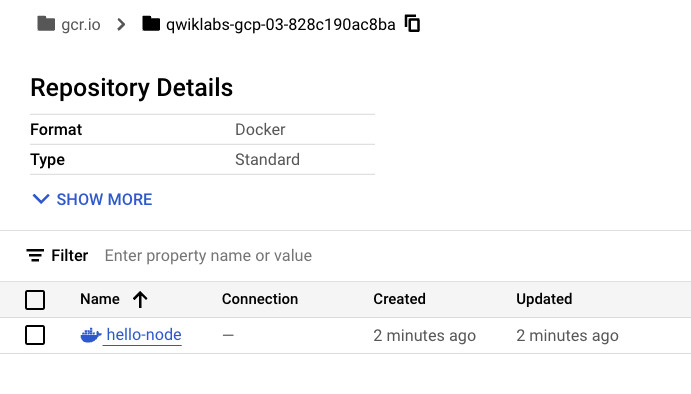
The image pushed to the registry can be confirmed by checking the registry via the Google cloud console.
Output on th cloud console registry:
Creating the Kubernetes cluster
- Confirm project ID config
gcloud config set project PROJECT_ID
- Creating the nodes
gcloud container clusters create hello-world
                --num-nodes 2
                --machine-type e2-medium
                --zone "us-central1-c"
2 nodes with machine type to be e2-medium and the us-central1-c zone
Output:
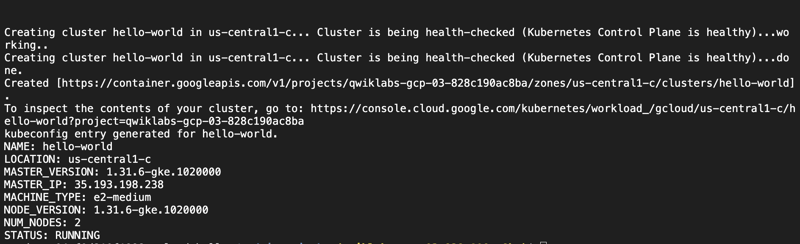
this will take 2-3 minutes to complete depending on my factors, so be patient.
Creating a pod
Running nodejs image stored in the registry serving content at port 8080. We need away to bring the docker image stored in the registry into the kubernetes cluster created and this can be done by creating a pod and run the docker image inside of it.
- kubectl command to create a deployment pod
kubectl create deployment hello-node
    --image=gcr.io/PROJECT_ID/hello-node:v1
the command create a deployment in the cluster referencing the docker image stored in the registry.
Output:
![]()
- show the pod created
kubectl get pods
Output:

Let’s allow external traffic from customers and internet
In order to make the hello-node container accessible from outside the Kubernetes virtual network, we need to expose the pod as a Kubernetes service.
- Add a load balancer to add an external IP
kubectl expose deployment hello-node --type="LoadBalancer" --port=8080
Output:
![]()
- Finding the IP address accessible everywhere
kubectl get svc
Output with a focus on the external IP on the hello-node:

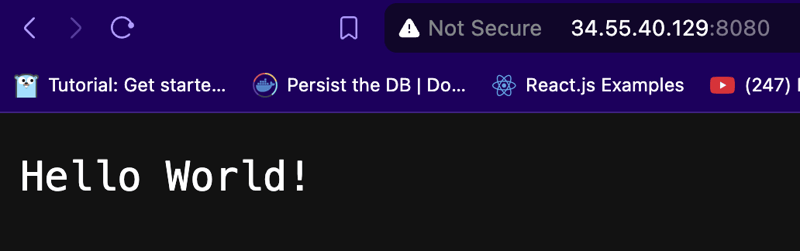
- Check the browser with the IP.
> If you put the IP address in the browser, you will get something like below which is the response from the API we are deploying
Output:
Scale up the services easily
Suppose you suddenly need more capacity. You can tell the replication controller to manage a new number of replicas for your pod with the kubectl scale command.
- Increase the number of pods to 4
kubectl scale deployment hello-node --replicas=4
Output:
![]()
- Confirm the number of replicas
kubectl get deployment
Output:

- See the running pods managed by the deployment
kubectl get pods
Output:

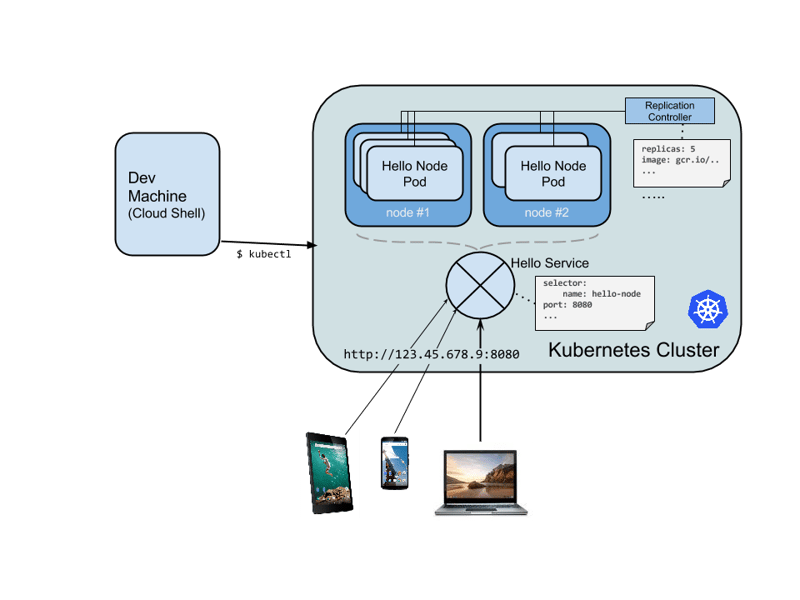
- Where we are
Everything we’ve done so far is replicated in the diagram below for easy understand and a help to build the right mental model.
Roll out an upgrade to your service
This is done without impacting users, that’s the power of kubernetes
- Add the feature: we added another endpoint return
- Rebuild the docker image
- push new version to docker registry
a. To interact with running cluster, you edit the k8s
kubectl edit deployment hello-node
Point the spec.template.spec.containers.image to the new version of the image just pushed to the registry.
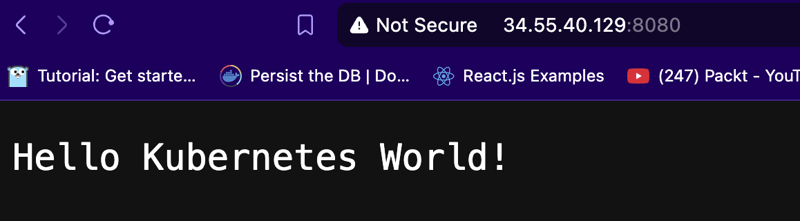
While this is happening, the users using the services wouldn’t see any interruption. After a little while they’ll start accessing the new version of the application i.e the API responding with
Hello Kubernetes World!.
These deployment, scaling, and updated features, are managed by K8s once Kubernetes Engine cluster is set up, It’ll be clear that Kubernetes will help you focus on the application rather than the infrastructure.
This is a part of a series. take note!