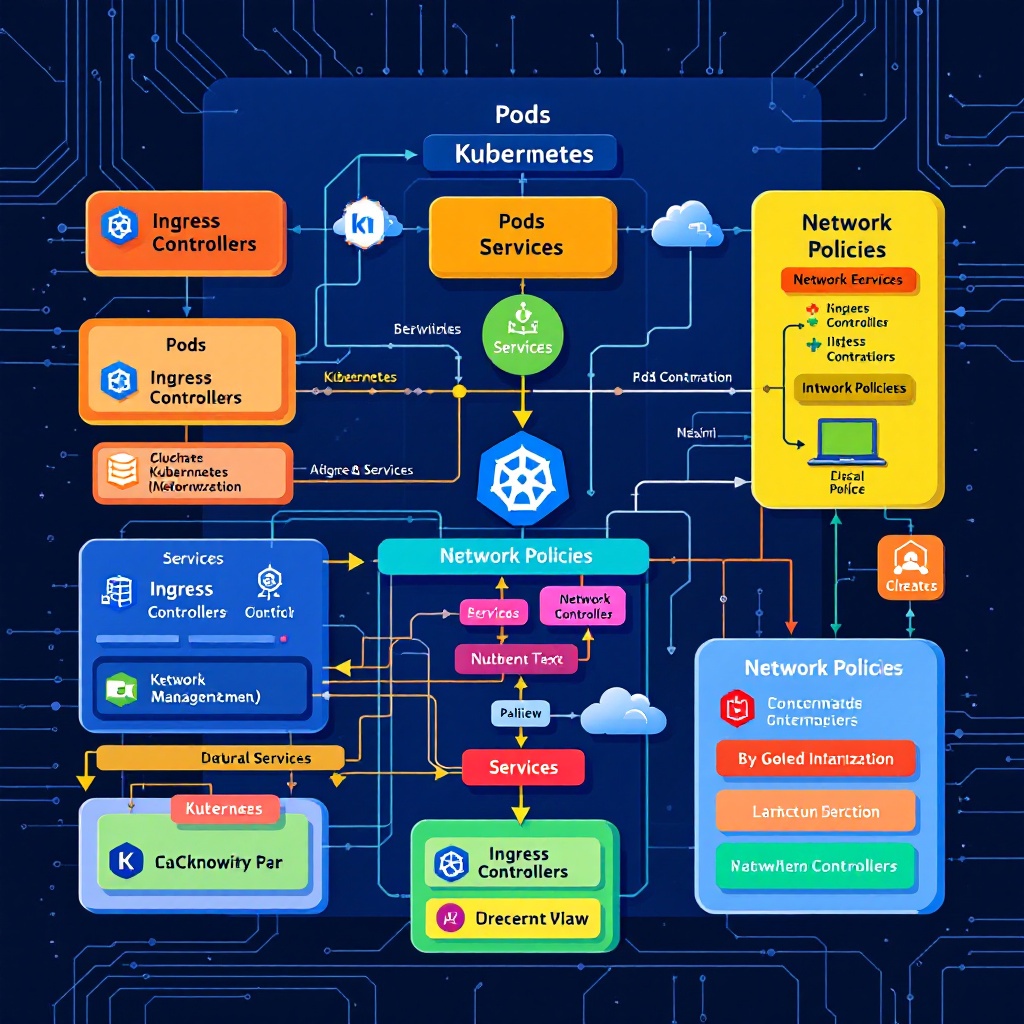
Kubernetes has transformed the way we deploy and manage applications in the cloud. One of the core components of Kubernetes is its networking model, which ensures that different parts of your application can communicate effectively. In this tutorial, we will explore how to set up Kubernetes networking, focusing on services, ingress controllers, and network policies.
Understanding Kubernetes Networking
Kubernetes networking allows pods (the smallest deployable units in Kubernetes) to communicate with each other and with the outside world. The Kubernetes networking model is based on the idea that every pod gets its own IP address, enabling seamless communication without network address translation (NAT). This design simplifies network management and improves performance.
Key Components of Kubernetes Networking
Before diving into the setup, let’s briefly discuss the main components involved in Kubernetes networking:
- Pods: The basic units of deployment in Kubernetes, which can contain one or more containers.
- Services: A stable endpoint that allows communication between pods, regardless of their dynamic IP addresses.
- Ingress: A collection of rules that allow inbound connections to reach the cluster services.
- Network Policies: Rules that control the traffic flow between pods based on labels.
Setting Up Services in Kubernetes
To start with Kubernetes networking, we need to create a service. A service provides a stable IP address and DNS name for a set of pods. Here’s how to create a simple service:
Step 1: Create a Deployment
First, we will create a simple deployment using NGINX:
kubectl create deployment nginx --image=nginxStep 2: Expose the Deployment as a Service
Next, expose the deployment to create a service:
kubectl expose deployment nginx --port=80 --target-port=80 --type=ClusterIPThis command creates a service of type ClusterIP, which means it will only be accessible within the cluster.
Configuring Ingress Controllers
Ingress controllers manage external access to the services in your cluster. They can route traffic based on hostnames or paths. To set up an ingress controller, follow these steps:
Step 1: Install an Ingress Controller
For this tutorial, we will use NGINX as our ingress controller. You can install it using the following command:
kubectl apply -f https://raw.githubusercontent.com/kubernetes/ingress-nginx/main/deploy/static/provider/cloud/deploy.yamlStep 2: Create an Ingress Resource
Next, create an ingress resource to route traffic to your service:
apiVersion: networking.k8s.io/v1
kind: Ingress
metadata:
  name: nginx-ingress
spec:
  rules:
  - host: my-nginx.local
    http:
      paths:
      - path: /
        pathType: Prefix
        backend:
          service:
            name: nginx
            port:
              number: 80
Make sure to also update your local DNS or /etc/hosts file to point my-nginx.local to the ingress controller’s IP address.
Implementing Network Policies
Network policies allow you to control the traffic flow between pods. By default, all traffic is allowed, but you can restrict it based on your requirements. Let’s create a simple network policy:
Step 1: Define a Network Policy
Here’s an example of a network policy that allows only specific pods to communicate with each other:
apiVersion: networking.k8s.io/v1
kind: NetworkPolicy
metadata:
  name: allow-nginx
spec:
  podSelector:
    matchLabels:
      app: nginx
  policyTypes:
  - Ingress
  ingress:
  - from:
    - podSelector:
        matchLabels:
          app: frontend
This policy allows only pods with the label app: frontend to communicate with the pods labeled app: nginx.
Testing Your Setup
To ensure everything is working as expected, you can use kubectl port-forward to access your service locally:
kubectl port-forward service/nginx 8080:80Now, you can visit http://localhost:8080 in your web browser to see the NGINX welcome page.
Conclusion
Configuring Kubernetes networking might seem daunting at first, but understanding the core concepts will make the process much smoother. In this tutorial, we covered how to set up services, ingress controllers, and network policies. With this knowledge, you can effectively manage the networking of your Kubernetes cluster and ensure that your applications communicate seamlessly.
Further Reading
To dive deeper into Kubernetes networking, consider checking out the official Kubernetes documentation or exploring more advanced topics such as service meshes or network performance tuning.
