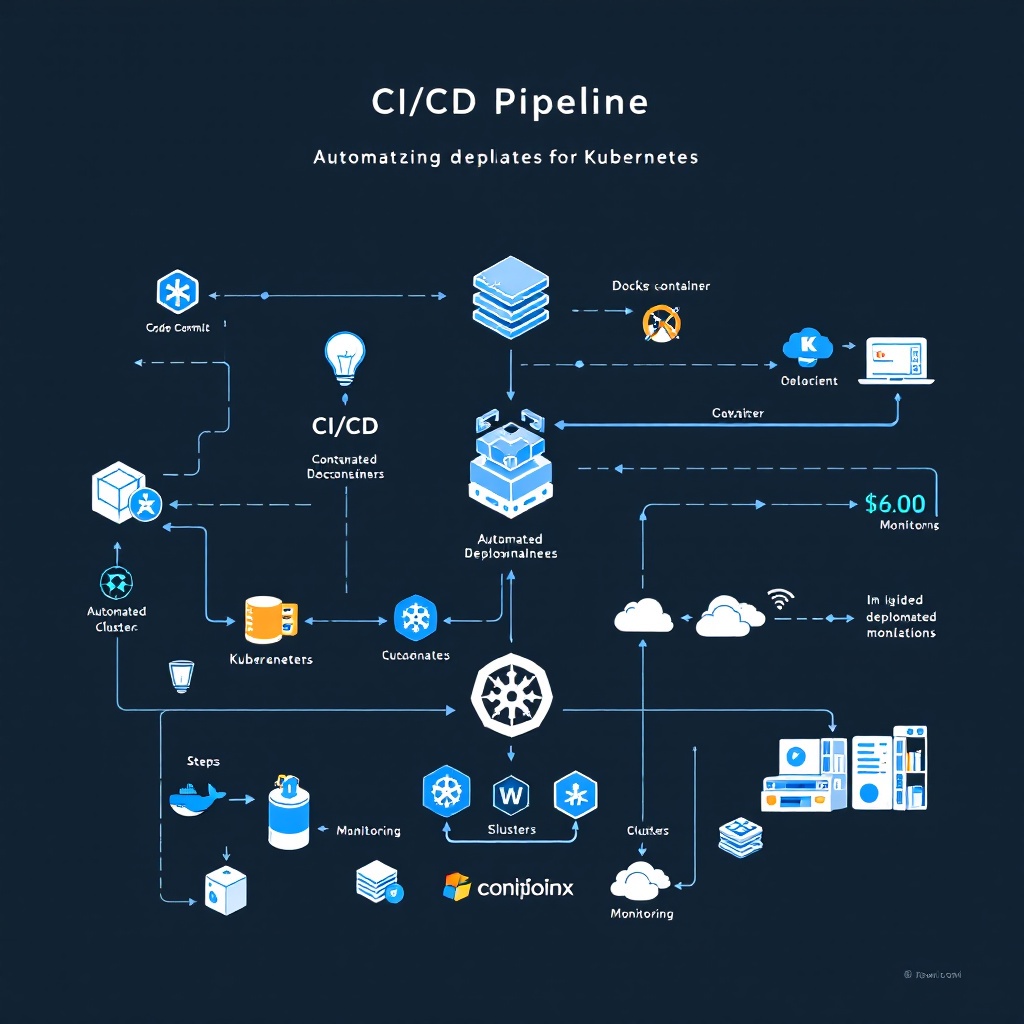
In today’s fast-paced software development landscape, the need for rapid and reliable deployments is more crucial than ever. Automating Kubernetes deployments using Continuous Integration and Continuous Deployment (CI/CD) pipelines not only enhances efficiency but also minimizes human error during application updates. This article will guide you through setting up a CI/CD pipeline for Kubernetes, ensuring a streamlined workflow for your applications.
Understanding CI/CD
Before diving into the specifics of Kubernetes and CI/CD, it’s essential to understand what CI/CD entails. Continuous Integration (CI) is the practice of automatically testing and integrating code changes into a shared repository frequently. Continuous Deployment (CD), on the other hand, refers to the automated release of these changes into production environments. Together, they form a powerful combination that accelerates the software delivery process.
The Importance of Automating Deployments
Automating deployments brings a multitude of benefits:
- Speed: Deployment processes are faster, allowing teams to focus on development rather than manual tasks.
- Consistency: Automated deployments reduce the risk of inconsistencies between environments.
- Reliability: With automated testing and deployment, the likelihood of human error is significantly reduced.
- Scalability: As your application grows, automated deployments can easily scale to meet increasing demands.
Setting Up Your CI/CD Pipeline
Now that we understand the benefits, let’s walk through the steps to set up a CI/CD pipeline for Kubernetes.
1. Prerequisites
Before you begin, ensure you have the following:
- A Kubernetes cluster (can be local using Minikube or hosted on platforms like GKE, EKS, or AKS).
- A Git repository for your application code.
- A CI/CD tool (such as Jenkins, GitLab CI, or GitHub Actions).
- Docker installed for containerization.
2. Containerize Your Application
To deploy your application on Kubernetes, you first need to containerize it. Create a Dockerfile in your application root directory. Here’s a sample Dockerfile:
FROM node:14
WORKDIR /app
COPY package.json .
RUN npm install
COPY . .
EXPOSE 3000
CMD ["npm", "start"]
This Dockerfile defines how to build your application container. Adjust it according to your application’s requirements.
3. Configure Your CI/CD Tool
Next, configure your CI/CD tool to automate the build and deployment process. Here’s an example configuration for GitHub Actions:
name: CI/CD Pipeline

on:
  push:
    branches:
      - main

jobs:
  build:
    runs-on: ubuntu-latest
    steps:
      - name: Checkout Code
        uses: actions/checkout@v2
      - name: Set up Docker Buildx
        uses: docker/setup-buildx-action@v1
      - name: Log in to Docker Hub
        uses: docker/login-action@v1
        with:
          username: ${{ secrets.DOCKER_USERNAME }}
          password: ${{ secrets.DOCKER_PASSWORD }}
      - name: Build and Push Docker Image
        run: |
          docker build -t yourusername/yourapp:${{ github.sha }} .
          docker push yourusername/yourapp:${{ github.sha }}
This configuration triggers a build every time code is pushed to the main branch, logs into Docker Hub, and builds the Docker image.
4. Deploy to Kubernetes
After successfully building and pushing your Docker image, the next step is to deploy it to your Kubernetes cluster. You can do this by adding steps to your CI/CD configuration:
      - name: Set up Kubeconfig
        run: |
          echo "${{ secrets.KUBE_CONFIG }}" | base64 --decode > $HOME/.kube/config

      - name: Deploy to Kubernetes
        run: |
          kubectl set image deployment/yourapp yourapp=yourusername/yourapp:${{ github.sha }}
          kubectl rollout status deployment/yourapp
In this step, you set up the kubeconfig to connect to your Kubernetes cluster and update the deployment with the new image.
5. Monitor and Maintain
Once your CI/CD pipeline is set up, it’s crucial to monitor your deployments. Use Kubernetes’ built-in tools like kubectl and logs to keep an eye on your application. Additionally, consider integrating monitoring tools like Prometheus or Grafana for more in-depth insights.
Conclusion
Automating Kubernetes deployments with CI/CD not only saves time but also enhances the reliability and scalability of your applications. By following the steps outlined in this article, you can create a streamlined workflow that ensures your applications are always up-to-date and running smoothly. Embrace automation and watch your development process transform!
