Introduction
In this article, we will explore how to deploy a Node.js application using Kustomize on a Minikube cluster. We will cover the project structure, Dockerfile setup, Kubernetes manifests, and how to use Kustomize to manage different configurations for development, staging, and production environments. We will also discuss the advantages of using Kustomize over other alternatives.
Prerequisites
Before we begin, ensure you have the following installed on your machine:
Project Structure
Here is the structure of our project:
profile-app/
├── config/
│   ├── config.json
├── k8s/
│   ├── base/
│   │   ├── deployment.yaml
│   │   ├── service.yaml
│   │   ├── pvc.yaml
│   │   ├── namespace.yaml
│   │   ├── kustomization.yaml
│   ├── overlays/
│   │   ├── dev/
│   │   │   ├── config.json
│   │   │   ├── kustomization.yaml
│   │   ├── prod/
│   │   │   ├── config.json
│   │   │   ├── kustomization.yaml
│   │   ├── staging/
│   │   │   ├── config.json
│   │   │   ├── kustomization.yaml
├── app.js
├── package.json
├── Dockerfile
├── docs/
│   ├── readme.md
Application Code
app.js
const express = require("express");
const fs = require("fs");

const app = express();
const PORT = process.env.PORT || 3001;

// Read the mounted config file
const CONFIG_PATH = "./config/config.json";
let config = { name: "Noel Bansikah", role: "DevOps Engineer", nameColor: "black", roleColor: "gray", environment: "development" };

// Check if the config file exists
if (fs.existsSync(CONFIG_PATH)) {
  config = JSON.parse(fs.readFileSync(CONFIG_PATH, "utf-8"));
}

// Define a color map for meaningful colors
const colorMap = {
  black: "#000000",
  gray: "#6c757d",
  blue: "#007BFF",
  yellow: "#FFC107",
  red: "#DC3545",
  green: "#28A745"
};

// Get the colors from the config or default to black and gray
const nameColor = colorMap[config.nameColor] || colorMap.black;
const roleColor = colorMap[config.roleColor] || colorMap.gray;

app.get("/", (req, res) => {
  res.send(`


        <h1 style="color: ${nameColor};">Hello, I am ${config.name} 🚀
        <h2 style="color: ${roleColor};">Role: ${config.role}
        Environment: ${config.environment}
        GitHub: bansikah22
        GitLab: bansikah22
        LinkedIn: bansikah22


  `);
});

app.listen(PORT, () => console.log(`Server running on port ${PORT}...`));
Dockerfile
# Stage 1: Build stage
FROM node:18-alpine AS build
WORKDIR /app
COPY package.json ./
RUN npm install

# Stage 2: Production stage
FROM node:18-alpine
WORKDIR /app
COPY --from=build /app/node_modules /app/node_modules
COPY app.js ./
CMD ["node", "app.js"]
EXPOSE 3001
Building and Pushing the Docker Image
To build and push the Docker image to Docker Hub, follow these steps:
- Build the Docker image:
docker build -t /profile-app:latest .
- Push the Docker image to Docker Hub:
docker push /profile-app:latest
Replace with your actual Docker Hub username.
Kubernetes Manifests
Base Manifests
The base directory contains the common configuration that is shared across all environments. This includes the deployment, service, PVC, and namespace definitions.
k8s/base/deployment.yaml
apiVersion: apps/v1
kind: Deployment
metadata:
  name: profile-app
spec:
  replicas: 1
  selector:
    matchLabels:
      app: profile-app
  template:
    metadata:
      labels:
        app: profile-app
    spec:
      containers:
      - name: profile-app
        image: /profile-app:latest
        ports:
        - containerPort: 3001
        volumeMounts:
        - name: config-volume
          mountPath: /app/config
          subPath: config.json
          readOnly: false
      volumes:
      - name: config-volume
        configMap:
          name: profile-app-config
k8s/base/service.yaml
apiVersion: v1
kind: Service
metadata:
  name: profile-service
spec:
  selector:
    app: profile-app
  ports:
    - protocol: TCP
      port: 80
      targetPort: 3001
  type: ClusterIP
k8s/base/pvc.yaml
apiVersion: v1
kind: PersistentVolumeClaim
metadata:
  name: profile-app-pvc
spec:
  accessModes:
    - ReadWriteOnce
  resources:
    requests:
      storage: 1Gi
k8s/base/namespace.yaml
apiVersion: v1
kind: Namespace
metadata:
  name: profile-app
k8s/base/kustomization.yaml
The kustomization.yaml file in the base directory defines the resources and images used in the base configuration.
resources:
  - deployment.yaml
  - service.yaml
  - pvc.yaml
  - namespace.yaml

images:
  - name: profile-app
    newName: /profile-app
    newTag: latest
Overlays
The overlays directory contains environment-specific configurations. Each environment (dev, prod, staging) has its own directory with a config.json file and a kustomization.yaml file.
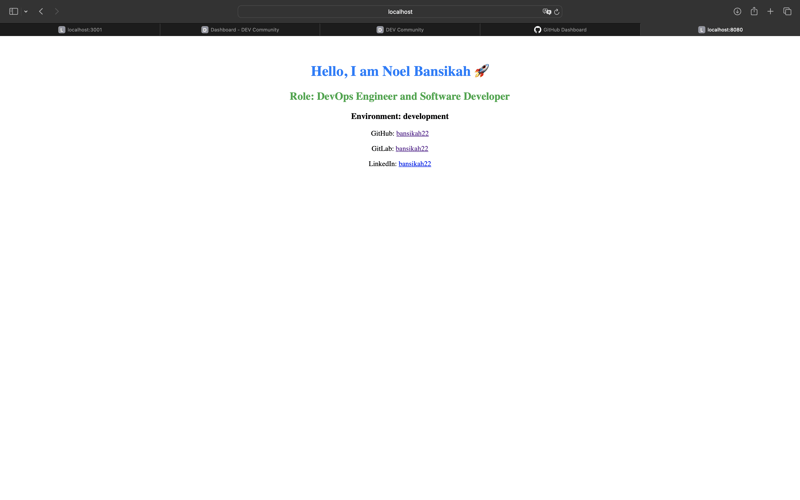
k8s/overlays/dev/config.json
{
  "name": "Noel Bansikah",
  "role": "DevOps Engineer and Software Developer",
  "nameColor": "blue",
  "roleColor": "green",
  "environment": "development"
}
k8s/overlays/dev/kustomization.yaml
namespace: dev
resources:
  - ../../base

configMapGenerator:
  - name: profile-app-config
    files:
      - config.json=config.json
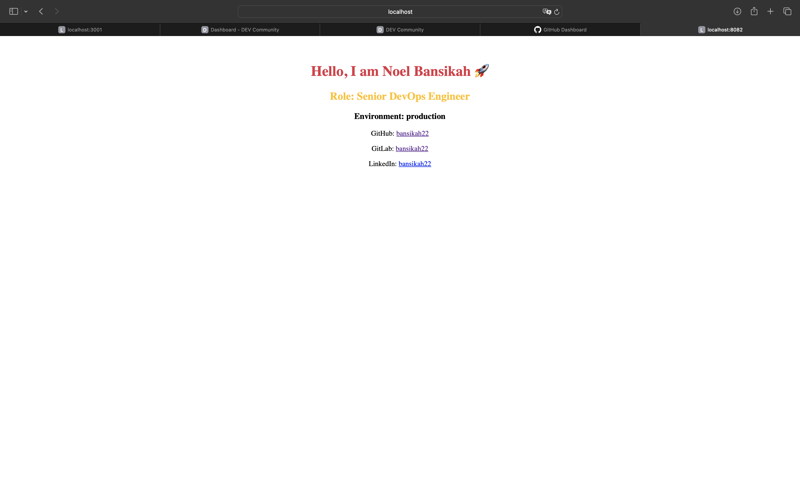
k8s/overlays/prod/config.json
{
  "name": "Noel Bansikah",
  "role": "Senior DevOps Engineer",
  "nameColor": "red",
  "roleColor": "yellow",
  "environment": "production"
}
k8s/overlays/prod/kustomization.yaml
namespace: prod
resources:
  - ../../base

configMapGenerator:
  - name: profile-app-config
    files:
      - config.json=config.json
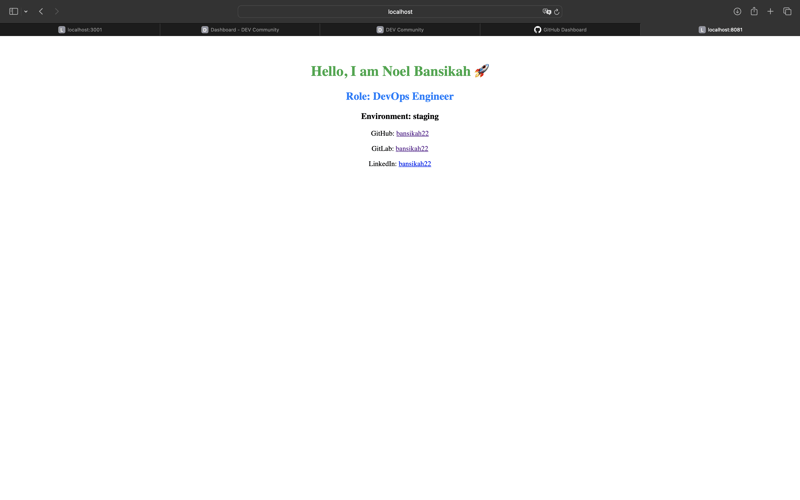
k8s/overlays/staging/config.json
{
  "name": "Noel Bansikah",
  "role": "DevOps Engineer",
  "nameColor": "green",
  "roleColor": "blue",
  "environment": "staging"
}
k8s/overlays/staging/kustomization.yaml
namespace: staging
resources:
  - ../../base

configMapGenerator:
  - name: profile-app-config
    files:
      - config.json=config.json
Using Kustomize
Kustomize is a tool that allows you to customize Kubernetes resource configurations. It provides a way to manage different configurations for different environments without duplicating YAML files. Kustomize is built into kubectl, making it easy to use.
Advantages of Kustomize
- Declarative Management: Kustomize allows you to manage Kubernetes resources declaratively.
- Environment-Specific Configurations: You can manage different configurations for different environments using overlays.
- No Templating: Kustomize does not use templating, making it easier to understand and maintain.
-
Built into
kubectl: Kustomize is integrated intokubectl, so you don’t need to install any additional tools.
Alternatives to Kustomize
- Helm: Helm is a package manager for Kubernetes that uses templating to manage configurations. While Helm is powerful and widely used, it can be more complex to manage compared to Kustomize.
- Ksonnet: Ksonnet was another tool for managing Kubernetes configurations, but it has been deprecated in favor of Kustomize and Helm.
Why We Prefer Kustomize
We prefer Kustomize for our application because it provides a simple and declarative way to manage configurations for different environments. It is easy to use, integrated into kubectl, and does not require templating, making it easier to maintain.
Deploying the Application
1️⃣ Start Minikube
minikube start
2️⃣ Deploy to Kubernetes
kubectl apply -k k8s/overlays/dev
kubectl apply -k k8s/overlays/prod
kubectl apply -k k8s/overlays/staging
3️⃣ Test the App
Port Forwarding
kubectl port-forward -n dev svc/profile-service 8080:80
kubectl port-forward -n staging svc/profile-service 8081:80
kubectl port-forward -n prod svc/profile-service 8082:80
Access the App
Open your browser and navigate to:
- Development: http://localhost:8080
- Staging: http://localhost:8081
- Production: http://localhost:8082
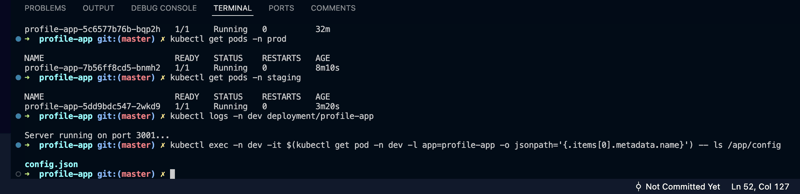
4️⃣ Verify Deployments
kubectl get pods -n dev
kubectl get pods -n staging
kubectl get pods -n prod

kubectl get services -n dev
kubectl get services -n staging
kubectl get services -n prod
5️⃣ Check Logs to Confirm Colors
kubectl logs -n dev deployment/profile-app
kubectl logs -n staging deployment/profile-app
kubectl logs -n prod deployment/profile-app
6️⃣ Test Persistent Storage
Check the Volume Mount
kubectl exec -n dev -it $(kubectl get pod -n dev -l app=profile-app -o jsonpath='{.items[0].metadata.name}') -- ls /app/config
Restart the Pod & Check if Config Persists
kubectl delete pod -n dev -l app=profile-app
kubectl get pods -n dev -w
7️⃣ Verify the Updated Config
kubectl exec -n dev -it $(kubectl get pod -n dev -l app=profile-app -o jsonpath='{.items[0].metadata.name}') -- curl profile-service
Open http://localhost:8080 in your browser to see the updated configuration! 🎉
Conclusion
In this article, we explored how to deploy a Node.js application using Kustomize on a Minikube cluster. We covered the project structure, Dockerfile setup, Kubernetes manifests, and how to use Kustomize to manage different configurations for development, staging, and production environments. We also discussed the advantages of using Kustomize over other alternatives.
LInk to the Code
If you have any questions or face any challenges, feel free to ask in the comments section below. Happy coding!
References
Happy coding! 🎉