
In the first part of this series, I introduced the background of Kube Resource Orchestrator (Kro). In this installment, we will define a Resource Graph Definition for WordPress and deploy multiple instances by creating them as Kro applications.
To understand and appreciate the power of Kro, imagine a managed hosting company specializing in deploying and managing WordPress sites for a diverse range of customers — each with unique branding, custom domains and specific performance requirements. This company needs a consistent definition of WordPress deployment while changing only a few parameters per customer. Kro is a perfect match for this use case.
By leveraging RGD as a centralized blueprint for WordPress deployments, the company can ensure that every site adheres to a consistent and optimized configuration while allowing individual customizations. This separation means the core setup — covering components like database configurations, persistent storage and ingress rules — is maintained in one robust, reusable definition, simplifying updates and security patches across all sites.
At the same time, individual application instances can be tailored with customer-specific settings such as unique credentials and custom domains, enabling rapid onboarding and reducing the risk of manual errors. This approach not only streamlines operations but also enhances scalability and reliability, making it easier for the hosting provider to manage a growing portfolio of WordPress sites efficiently.
This tutorial will define the WordPress workload as an RGD that encapsulates all the required Kubernetes resources, such as secrets, volumes, deployments, services and ingress. We will then define two instances representing different customers or tenants of this hosting company.
For completeness, this tutorial has all the steps from start to finish to explore Kro.
Step 1 — Install and Configure Minikube
curl -LO https://github.com/kubernetes/minikube/releases/latest/download/minikube-darwin-arm64
sudo install minikube-darwin-arm64 /usr/local/bin/minikube
Let’s launch Minikube and configure storage and ingress. We will use Rancher Local Path as the storage provider.
minikube start
minikube addons enable ingress
kubectl apply -f https://raw.githubusercontent.com/rancher/local-path-provisioner/v0.0.31/deploy/local-path-storage.yaml
Finally, install Helm.
brew install helm
Step 2 — Install Kro on Minikube
First, fetch the latest release version of Kro, and then install it as a Helm chart into its own namespace:
export KRO_VERSION=$(curl -sL
    https://api.github.com/repos/kro-run/kro/releases/latest |
    jq -r '.tag_name | ltrimstr("v")'
)

helm install kro oci://ghcr.io/kro-run/kro/kro
  --namespace kro
  --create-namespace
  --version=${KRO_VERSION}
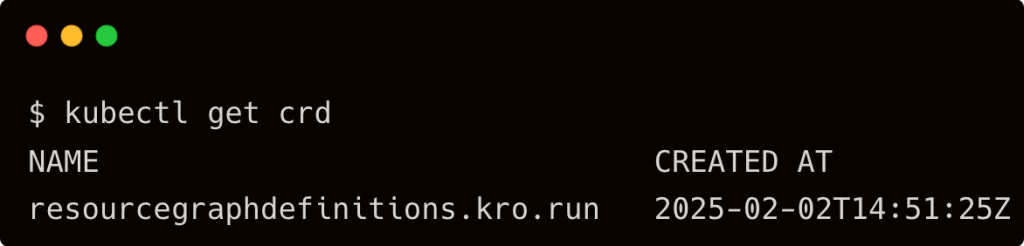
This will create a CRD in our Kubernetes cluster.
Step 3 — Deploy the WordPress Application With Kro
Create a YAML file containing the ResourceGraphDefinition. This file aggregates all the Kubernetes objects required for a WordPress deployment, including MySQL components, PersistentVolumeClaims, Deployments, Services and optionally an Ingress resource:
View the code on Gist.
In the above WordPress RGD, the definition is structured into two main parts: the schema and the resource templates.
The schema specifies key parameters for your WordPress deployment, such as the application name, the MySQL password (Base64 encoded), the storage class and whether an Ingress should be enabled. Operators can customize these values without directly editing multiple Kubernetes objects.
The resource templates then use these schema values to dynamically generate all necessary Kubernetes resources, including Secrets for storing MySQL credentials, PersistentVolumeClaims for both MySQL and WordPress data, Deployments and Services for running MySQL and WordPress pods, and optionally an Ingress for external access.
This unified approach simplifies the deployment process by aggregating multiple interdependent components into a single logical unit. It also ensures consistency and proper sequencing during resource creation. As a result, managing a complex application like WordPress becomes more efficient, predictable and less error-prone, as any changes to configuration parameters automatically propagate across all relevant resources.
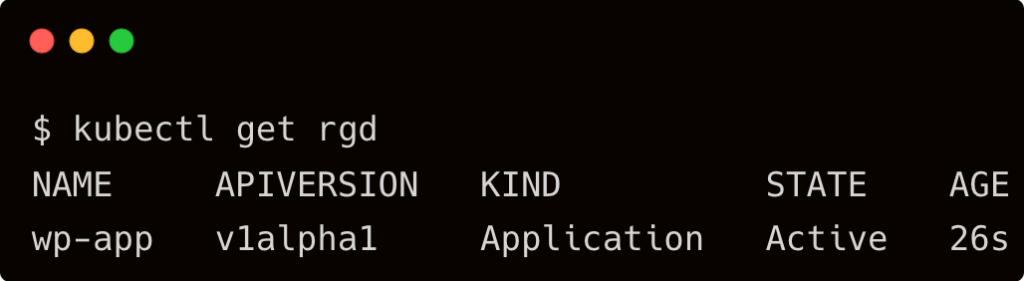
The above step results in a new RGD called wp-app.
Step 4 — Deploy Two Application Instances
Create another YAML file (for example, wordpress-apps.yaml) that instantiates your ResourceGraphDefinition. Here, two WordPress applications are defined with custom names, MySQL passwords, storage settings and Ingress enabled:
View the code on Gist.
Separating the RGD from individual application instances offers significant advantages, particularly for a managed hosting company deploying WordPress sites for multiple customers with custom domains.
The individual application instances based on the RGD allow for customer-specific customizations, such as unique MySQL credentials, storage configurations and custom domain settings, without the need to modify the underlying blueprint. This separation simplifies maintenance, speeds up the onboarding process for new customers and minimizes the risk of errors since the core configuration is defined once and then parameterized per instance.
Notice how we changed only the required parameters. If you want to extend this, change the Ingress hostname as a parameter.
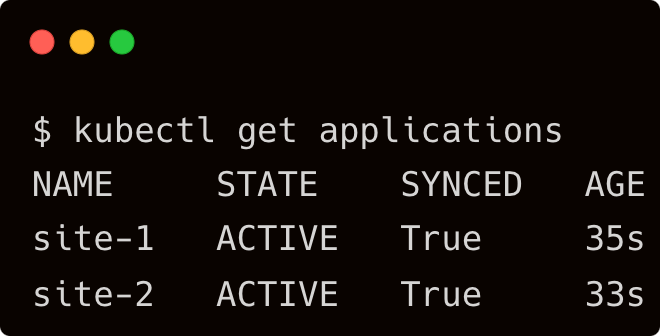
After deploying the applications, they should become active and synchronized.
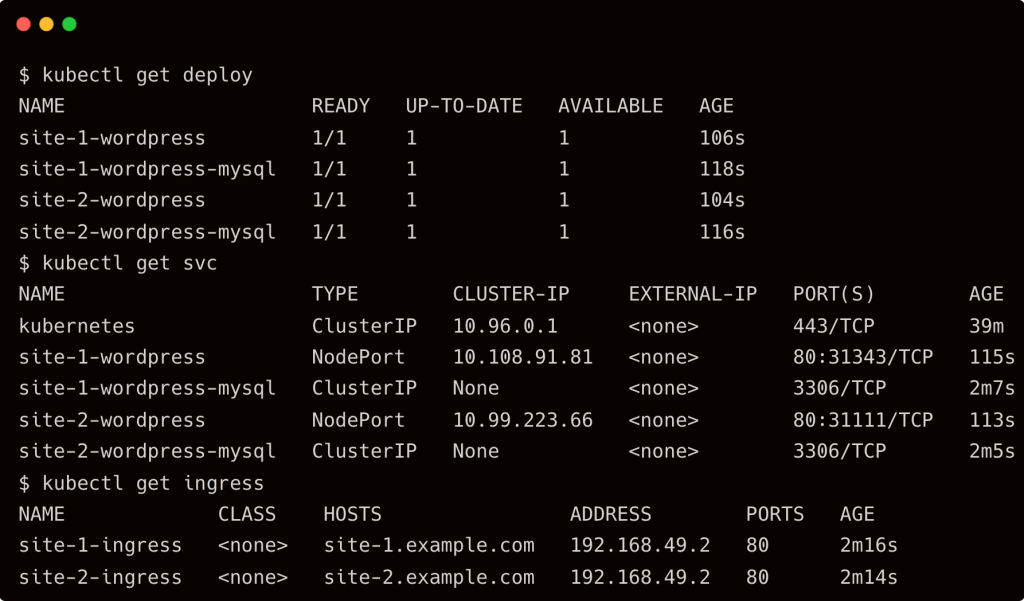
These applications are translated into various Kubernetes resources by the Kro controller.
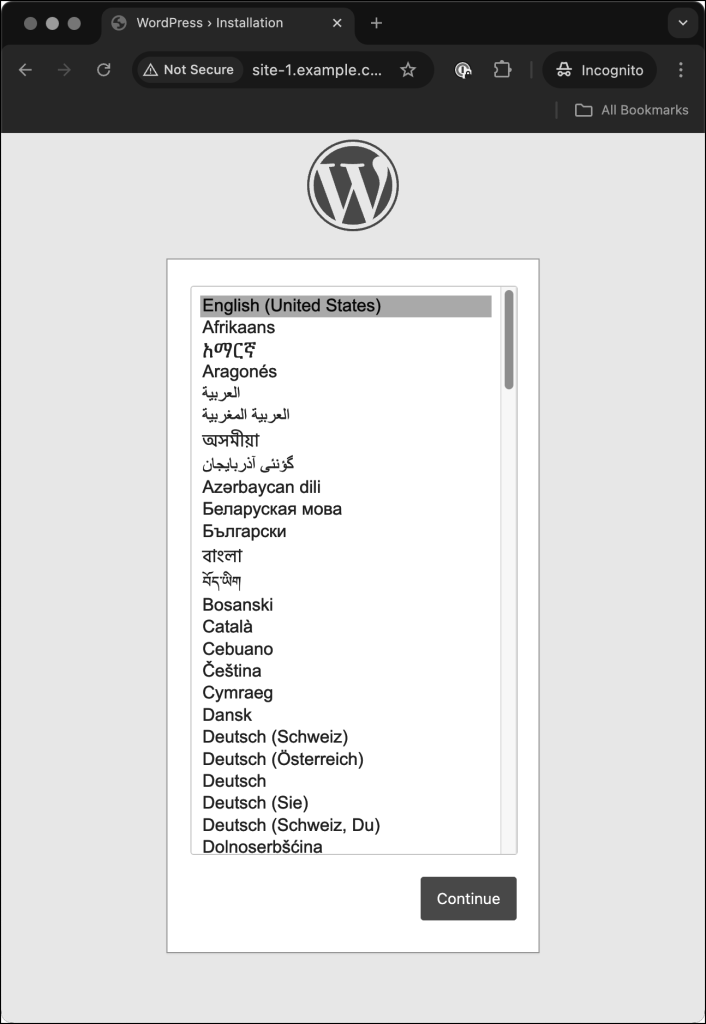
We can access the WordPress sites after adding the HOST DNS entries and modifying the Header through an extension like Mod Header for Chrome. Don’t forget to launch Minikube Tunnel before accessing the sites.
I hope this tutorial gave you a comprehensive overview of Kro and the workflow involved in using it.
The post Orchestrate Cloud Native Workloads With Kro and Kubernetes appeared first on The New Stack.
Comments are closed.