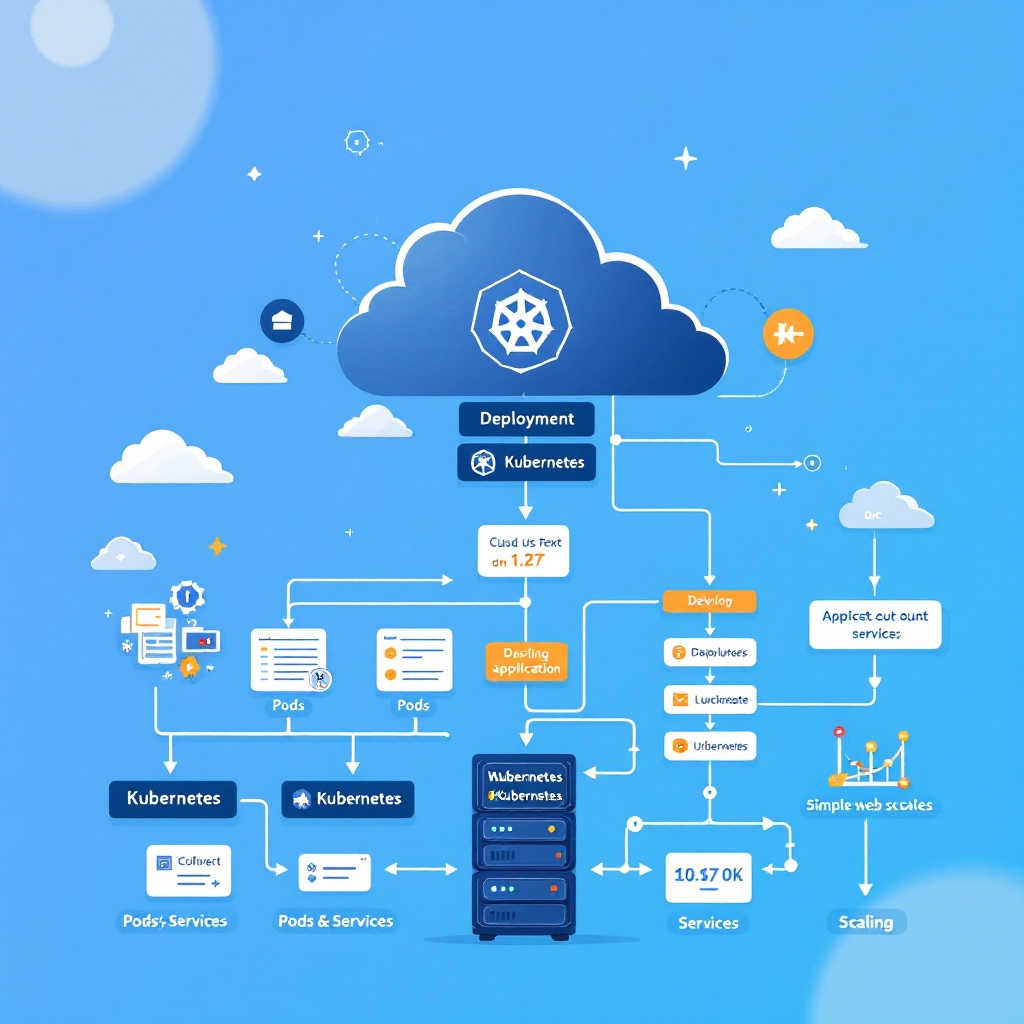
Kubernetes has revolutionized the way developers deploy and manage applications. In this tutorial, we will walk you through the steps to deploy a simple application on a Kubernetes cluster, covering everything from setup to scaling. By the end of this guide, you will have a solid understanding of the Kubernetes architecture and how to utilize it for your applications.
1. Setting Up Your Environment
Before diving into Kubernetes, you need to set up your development environment. You will need a Kubernetes cluster, which can be created using various cloud providers like Google Kubernetes Engine (GKE), Amazon EKS, or Microsoft Azure Kubernetes Service (AKS). Alternatively, you can use Minikube for a local Kubernetes cluster.
1.1 Installing Minikube
To install Minikube, follow these steps:
- Download Minikube from the official site.
- Install a hypervisor (like VirtualBox or Docker) if you haven’t already.
- Run the command `minikube start` to initialize your local cluster.
Once your cluster is up and running, verify its status with the command `minikube status`.
2. Understanding Kubernetes Architecture
Kubernetes consists of a master node and worker nodes. The master node manages the cluster, while worker nodes run the applications. Key components include:
- Pods: The smallest deployable units in Kubernetes, which can contain one or more containers.
- Services: An abstraction that defines a logical set of Pods and a policy to access them.
- Deployments: A way to manage the deployment of Pods and ensure the desired state.
3. Creating Your First Application
Let’s create a simple web application using a Docker image. We will deploy a basic Nginx server as our application.
3.1 Writing a Deployment YAML File
In Kubernetes, configurations are typically defined in YAML files. Create a file named `nginx-deployment.yaml` with the following content:
apiVersion: apps/v1
kind: Deployment
metadata:
  name: nginx-deployment
spec:
  replicas: 2
  selector:
    matchLabels:
      app: nginx
  template:
    metadata:
      labels:
        app: nginx
    spec:
      containers:
      - name: nginx
        image: nginx:1.14.2
        ports:
        - containerPort: 80
This configuration specifies that we want to run two replicas of the Nginx container, exposing port 80.
3.2 Deploying the Application
To deploy your application, run the following command:
kubectl apply -f nginx-deployment.yamlUse `kubectl get deployments` to verify that your deployment is running successfully. You should see your Nginx deployment listed with the desired number of replicas.
4. Exposing Your Application
To access your application from outside the cluster, you need to expose it using a service. Create a `nginx-service.yaml` file with the following content:
apiVersion: v1
kind: Service
metadata:
  name: nginx-service
spec:
  type: NodePort
  selector:
    app: nginx
  ports:
    - port: 80
      nodePort: 30001
This configuration creates a service that maps to your Nginx pods, allowing you to access it via the NodePort 30001.
4.1 Creating the Service
Run the following command to create the service:
kubectl apply -f nginx-service.yamlNow, you can access your application using your cluster’s IP address and the NodePort (e.g., `http://:30001`).
5. Scaling Your Application
One of the powerful features of Kubernetes is scaling applications. You can easily increase the number of replicas of your application. To scale your Nginx application, run:
kubectl scale deployment/nginx-deployment --replicas=4Check the status of your pods with `kubectl get pods` to see the new replicas running.
6. Cleaning Up
Once you’re done testing your application, it’s good practice to clean up the resources. Run the following commands to delete the deployment and service:
kubectl delete service nginx-service
kubectl delete deployment nginx-deployment
This will remove all resources associated with your application.
Conclusion
Congratulations! You have successfully deployed your first application on a Kubernetes cluster. You’ve learned how to set up your environment, create a deployment, expose your application, and scale it. Kubernetes is a powerful tool that can streamline your development process, and with practice, you will become proficient in deploying and managing applications in a cloud-native environment.
