Kubernetes, often abbreviated as K8s, is an open-source platform designed to automate deploying, scaling, and operating application containers. It has gained immense popularity in the tech industry due to its ability to manage complex applications effortlessly. This article will provide an introduction to Kubernetes, covering its architecture, components, and how to set up your first Kubernetes cluster. Ideal for beginners looking to understand the basics.
What is Kubernetes?
Kubernetes is a container orchestration platform that allows developers to manage containerized applications across a cluster of machines. It provides a framework to run distributed systems resiliently, allowing applications to scale easily and maintain desired performance levels. Originally developed by Google, Kubernetes is now maintained by the Cloud Native Computing Foundation (CNCF).
The Importance of Kubernetes
As organizations shift towards microservices architectures, the need for a robust orchestration tool becomes critical. Kubernetes simplifies the deployment and management of applications, providing features such as load balancing, automated rollouts and rollbacks, and storage orchestration. By handling these complexities, Kubernetes allows developers to focus on writing code rather than managing infrastructure.
Kubernetes Architecture
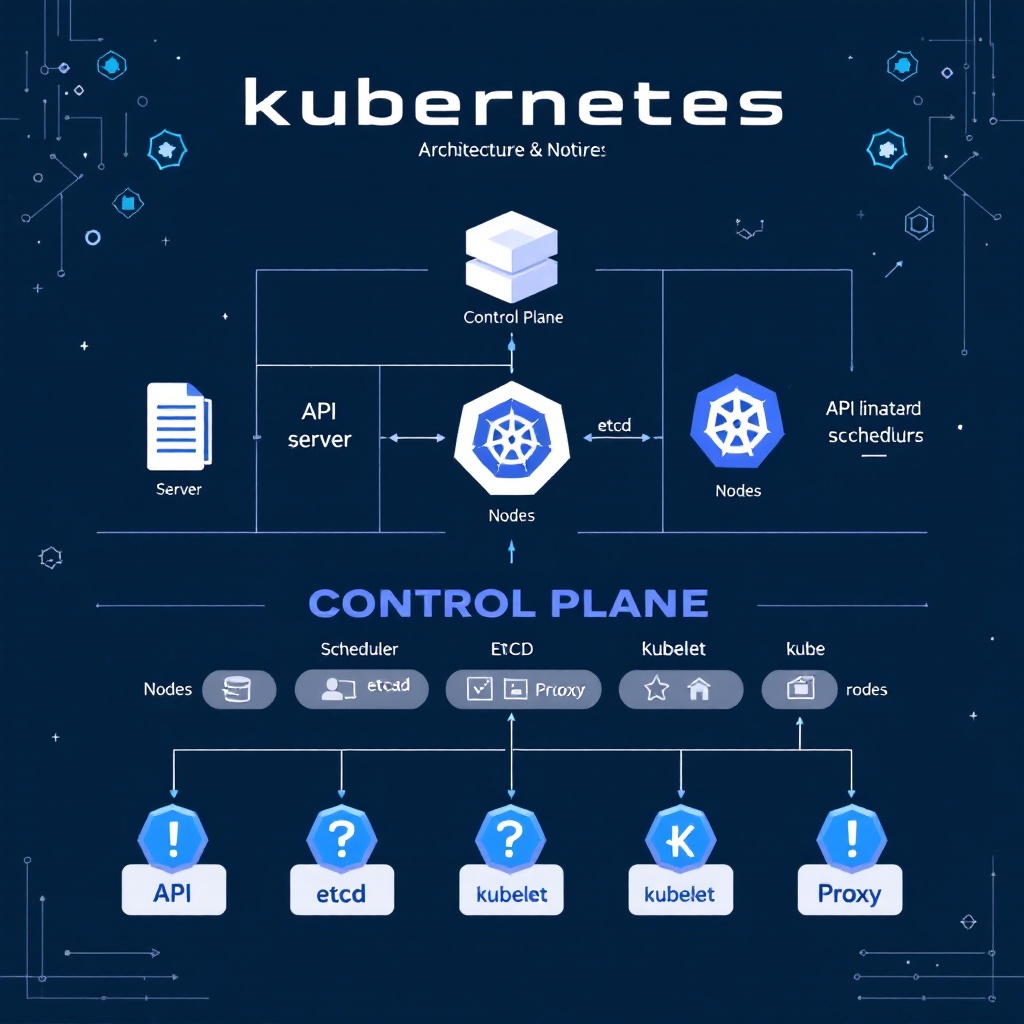
Understanding the architecture of Kubernetes is crucial for anyone looking to use the platform. Kubernetes is built around a client-server architecture that consists of two main components: the control plane and the nodes.
Control Plane
The control plane is responsible for managing the Kubernetes cluster. It contains several components, including:
- API Server: The API server is the frontend of the control plane, serving as the main interface for managing the cluster. It handles all REST commands and updates the cluster state accordingly.
- Scheduler: The scheduler is responsible for assigning pods to nodes based on resource requirements and constraints. It ensures that workloads are distributed efficiently across the cluster.
- Controller Manager: This component manages controller processes, which regulate the state of the cluster. For example, the replication controller ensures that a specified number of pod replicas are running at all times.
- etcd: etcd is a distributed key-value store used to store all cluster data. It provides a reliable way to store and access configuration data and state information.
Nodes
Each node in a Kubernetes cluster is a worker machine that runs containerized applications. Nodes can be physical or virtual machines, and they contain the following components:
- Kubelet: The kubelet is an agent that runs on each node, ensuring that the containers are running in pods as expected. It communicates with the control plane to receive instructions and report status.
- Container Runtime: The container runtime is the software responsible for running containers. Kubernetes supports various container runtimes, such as Docker and containerd.
- Kube Proxy: The kube proxy maintains network rules for pod communication. It handles traffic routing between services and ensures that requests are properly directed to the correct pods.
Setting Up Your First Kubernetes Cluster
Now that you have a basic understanding of Kubernetes architecture, let’s walk through the process of setting up your first Kubernetes cluster. For this guide, we will use a local development environment with Minikube, a tool that makes it easy to run Kubernetes locally.
Prerequisites
Before you begin, ensure you have the following installed on your machine:
- Virtualization software (e.g., VirtualBox, VMware)
- kubectl: The command-line tool for interacting with Kubernetes clusters
- Minikube: The tool to create a local Kubernetes cluster
Step 1: Install Minikube
Follow the installation instructions for Minikube based on your operating system from the official Minikube documentation. After installation, verify that Minikube is installed correctly by running:
minikube versionStep 2: Start Minikube
To start your local Kubernetes cluster, open your terminal and run:
minikube startThis command will download the necessary components and set up your cluster.
Step 3: Interact with Your Cluster
Once Minikube is running, you can interact with your cluster using kubectl. For example, to see the status of your nodes, run:
kubectl get nodesYou can also deploy your first application by creating a simple deployment:
kubectl create deployment hello-world --image=nginxStep 4: Expose Your Application
To access your deployment, you need to expose it as a service:
kubectl expose deployment hello-world --type=NodePort --port=80You can find the URL to access your application using:
minikube service hello-world --urlConclusion
Kubernetes is a powerful tool for managing containerized applications, and getting started with it can seem overwhelming. However, by understanding its architecture and following the steps outlined above, you can set up your first cluster and begin deploying applications. As you grow more comfortable with Kubernetes, you’ll discover its vast capabilities, making it an essential skill for any developer or system administrator.
